
Working with Wax Zoom Workshop
Annie Sloan has several waxes for us to use. The Clear Wax is essential as a protective finish for your work, unless you opt for lacquer. The coloured waxes are used as decorative additions to your paintwork. Here, I shall take a look at each of them, how to apply them and what their various uses are.
First, we have Clear Wax: This is used, primarily, as a protective coating over your finished work Chalk Paint™ needs this as it is an open breathable paint and due to its matt nature requires a protective seal over it. It creates a surface that is both water and heat resistant.
Dark Wax is wonderful for adding a settled in, worn look to a piece, highlighting relief work to give depth, or when combined with Craquelure can make a convincing aged patina.
Black Wax adds a profound depth of colour when applied over Annie’s dark blues and black Chalk Paints™ Try combining it with White Wax to develop interesting finishes over both dark and light paint colours.
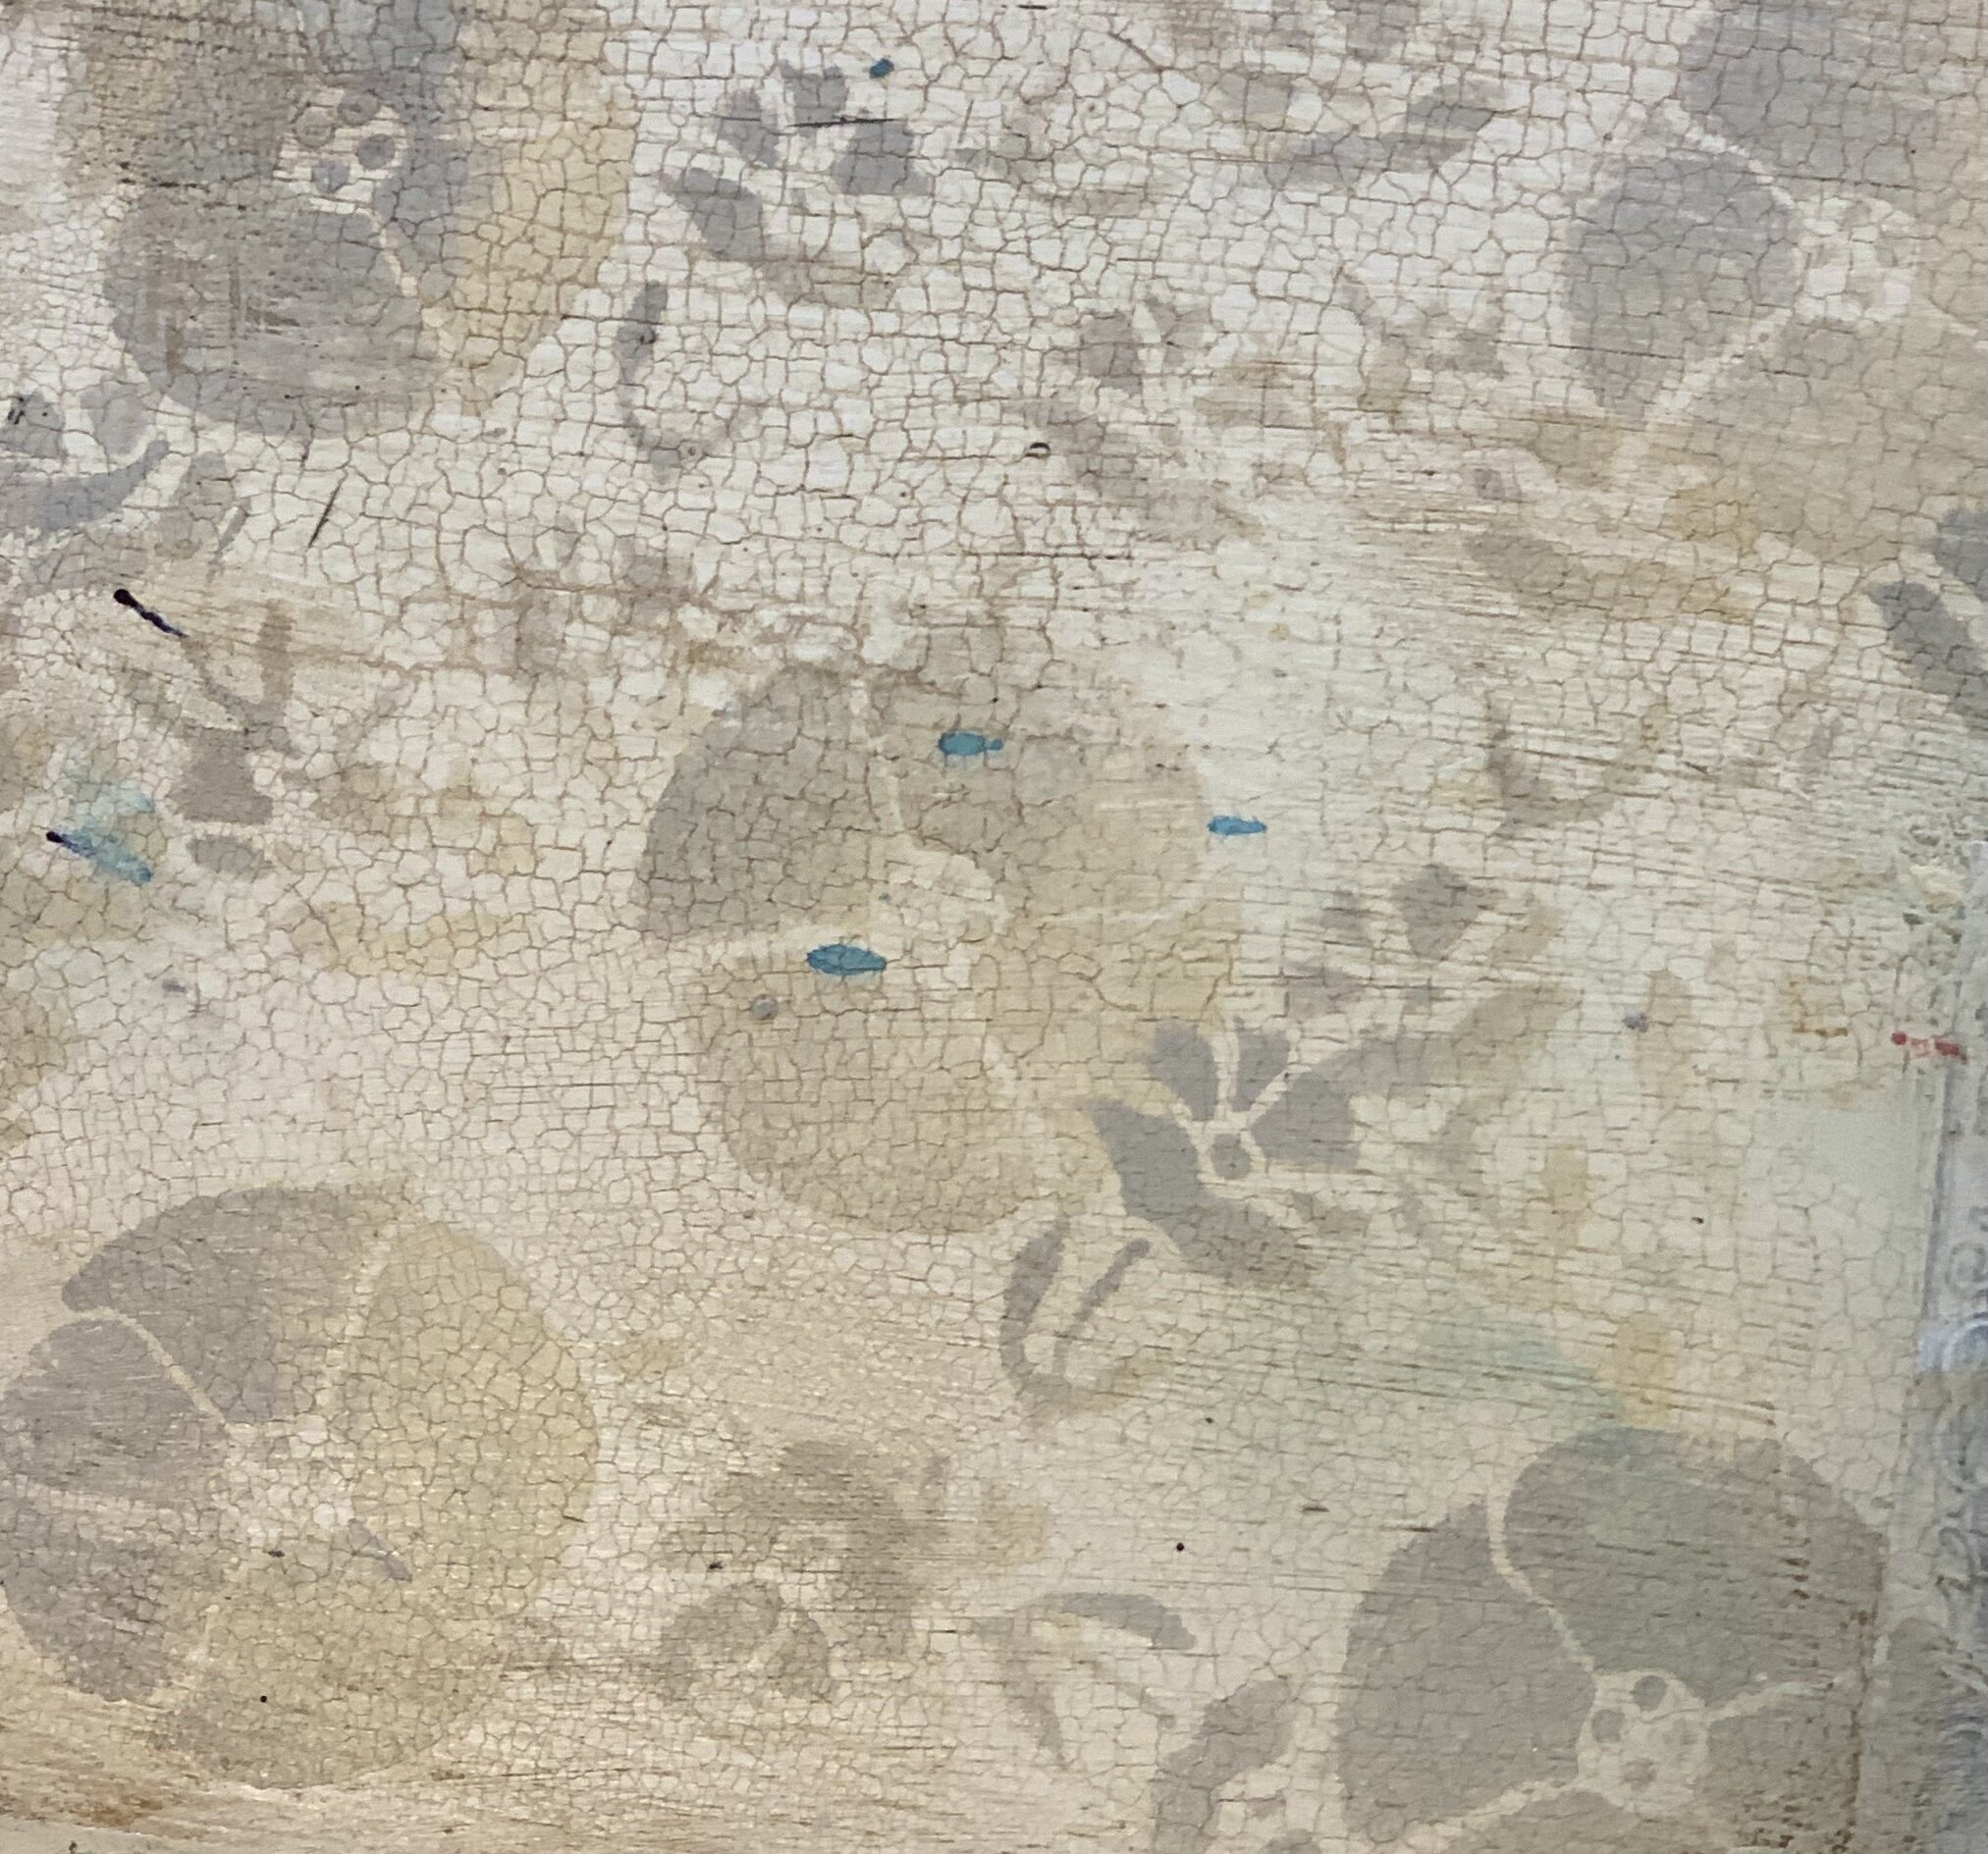
White Wax is fabulous for creating a limed look or highlighting relief paintwork. It’s effect over dark colours is superbly contrasting but over lighter colours it adds a soft depth. Have a look at the samples below to see the different effects you can create.
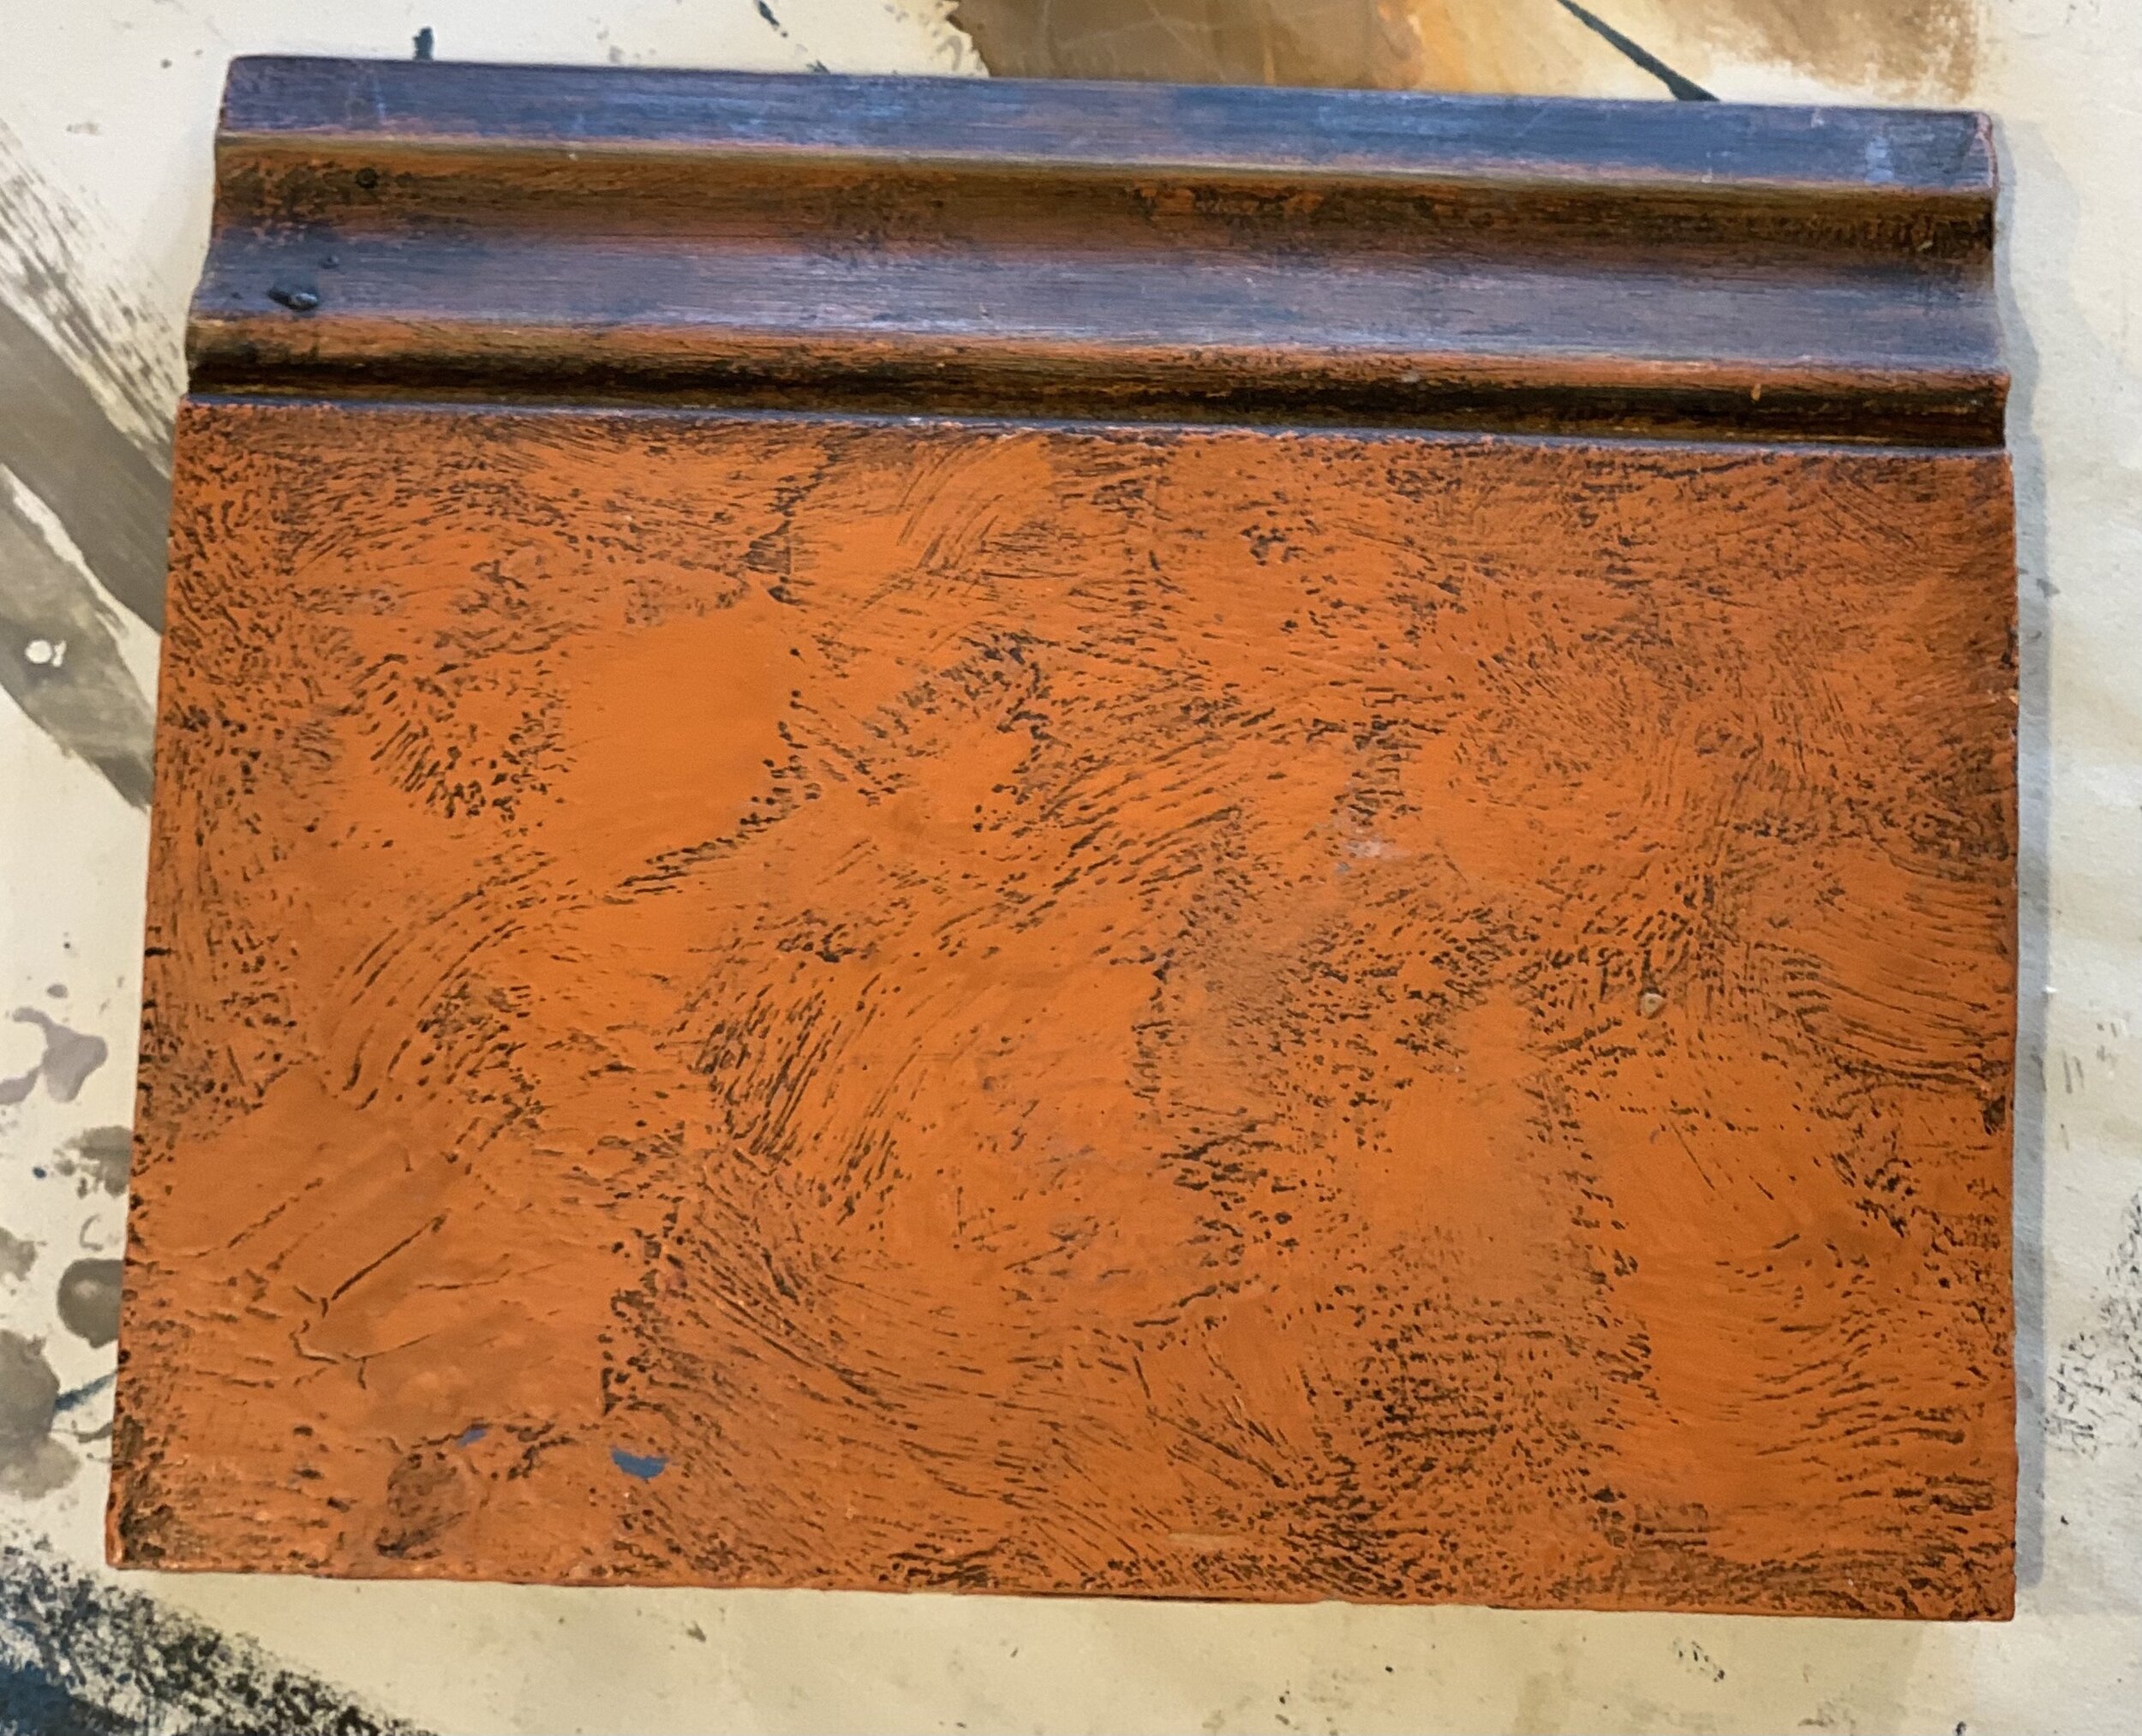
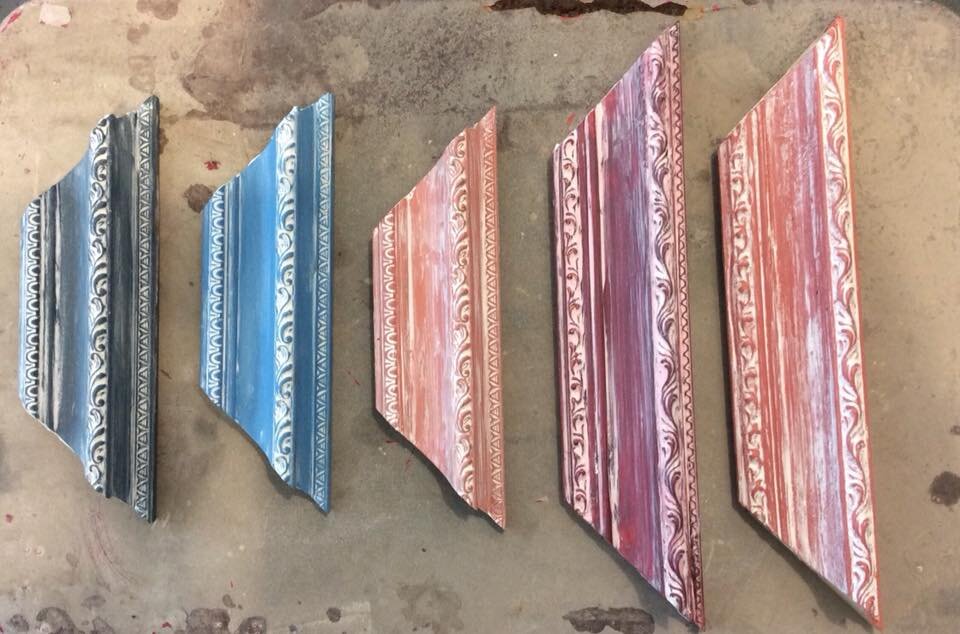
Above, we see Dark and Black Wax over strong colours to show off the relief work on the samples.
Let me explain best practice for applying the Clear Wax. Whenever you are working with wax be careful not to flood the surface. For the clear wax to cure properly it must be able to breathe. It takes up to 21 days to cure completely by the way. Frugal is the byword. Two or three thin coats are better than one big fat one! Using Annie Sloan’s bespoke wax brush, over a dry painted surface, apply the wax evenly over the whole surface and then take a clean lint free cloth to wipe off any excess. If you are working on a big piece of furniture it might be prudent to work on one face at a time so that the wax does not have a chance to dry. WIPE ON -WIPE OFF - WIPE ON - WIPE OFF leave for 12 hours and lightly buff with a clean lint free cloth to bring up the shine. That is the way to get a perfect finish.
You can also use Clear Wax as an eraser to remove excess coloured waxes. Good to know how to control the amount of Dark, Black or White Wax. It will gently lift any excess away to lighten the overall colour effect.
Here is an experiment for you to enjoy:
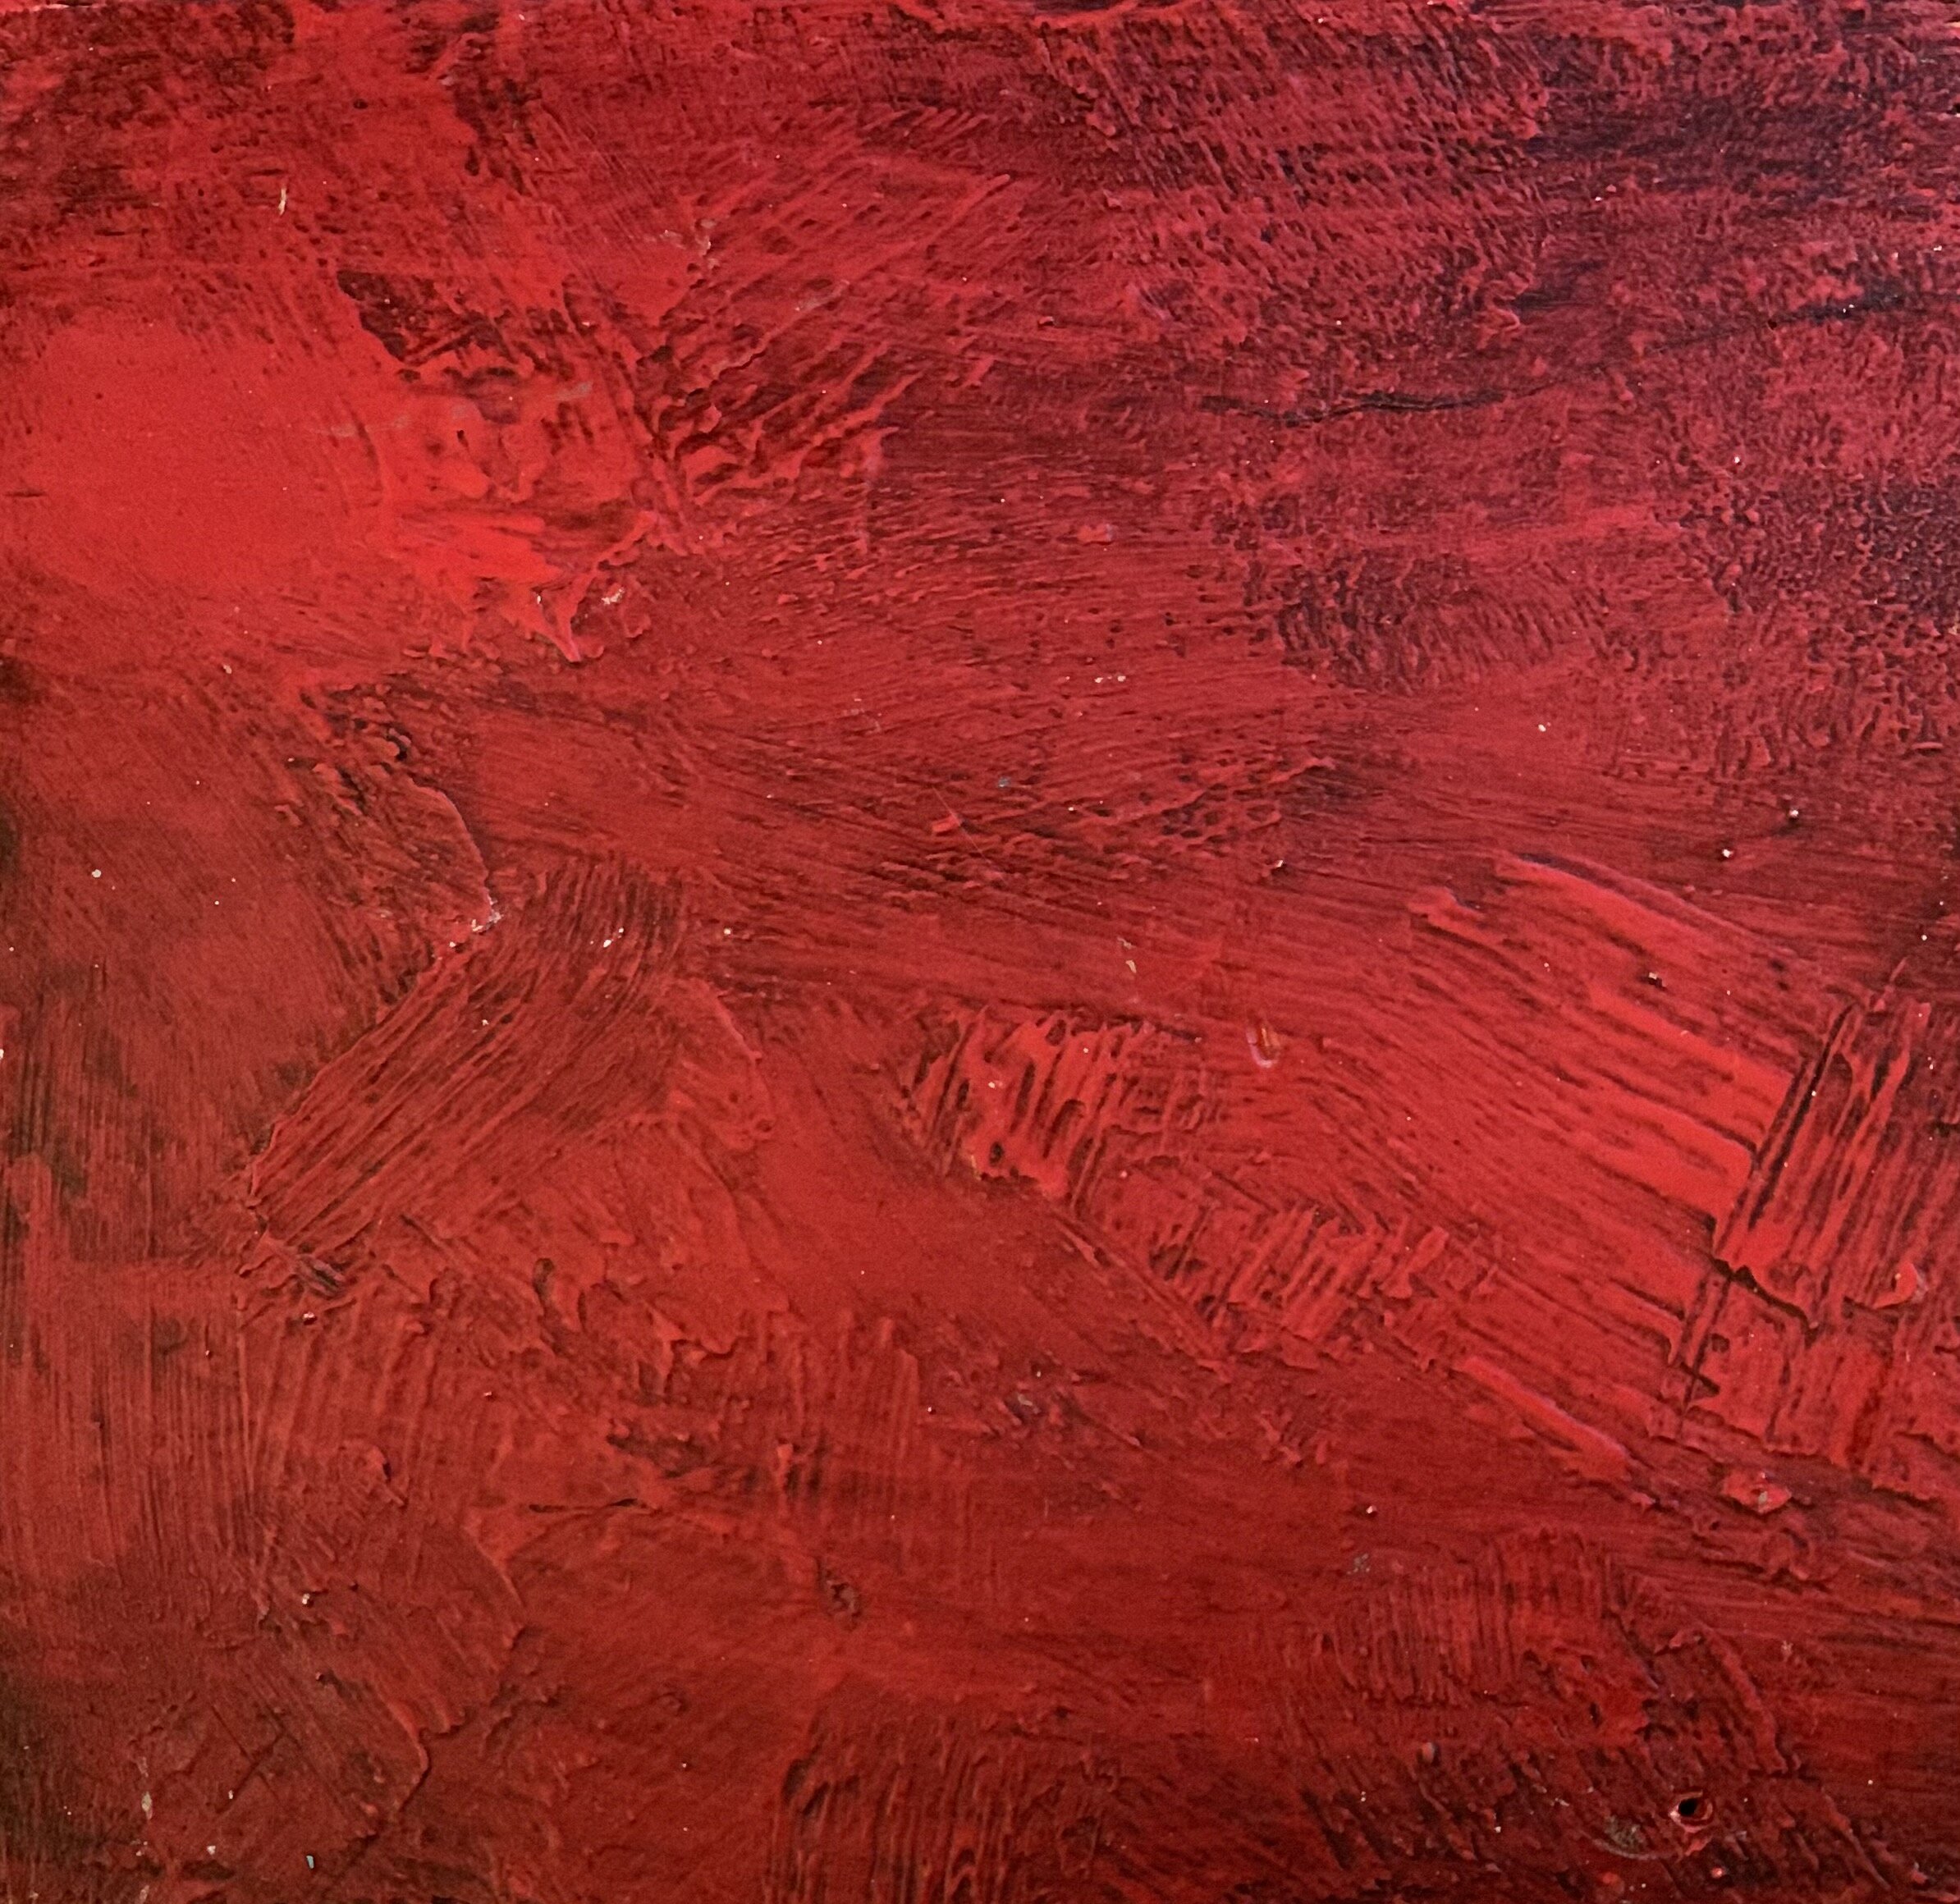
Using colours such as Antibes Green, Barcelona Orange or Emperor’s Silk really layer on the paint to develop a true impasto effect. Or build up the impasto layers with several well-chosen colours such as a base of Arles or English Yellow followed by touches of Old White.
Then work in the Black Wax or Dark Wax once the paint has fully dried. By really building up the layers with strong colours you can create some dramatic finishes. Remember, you can come back in with the Clear Wax to remove unwanted dark coloured wax, leaving a perfect finish. You are always in control.


The above examples show the effect of applying White Wax over your painted surface to create a limed look. On the right hand side we have used wax as a resist between two coats of paint to create a two tone effect.
If this has wet your appetite you might like to join us on a workshop to explore further effects using all Annie’s waxes. Head over to workshops and you can see all that we cover.
xx Jane