
Match My Bedhead!
We have all done it I am sure! Ordered something thinking it will match something else and then it arrives with the delivery van! Oops send it back or make do? Neither let’s set about making it work…………. With a little paint, patience and perseverance you can do it.
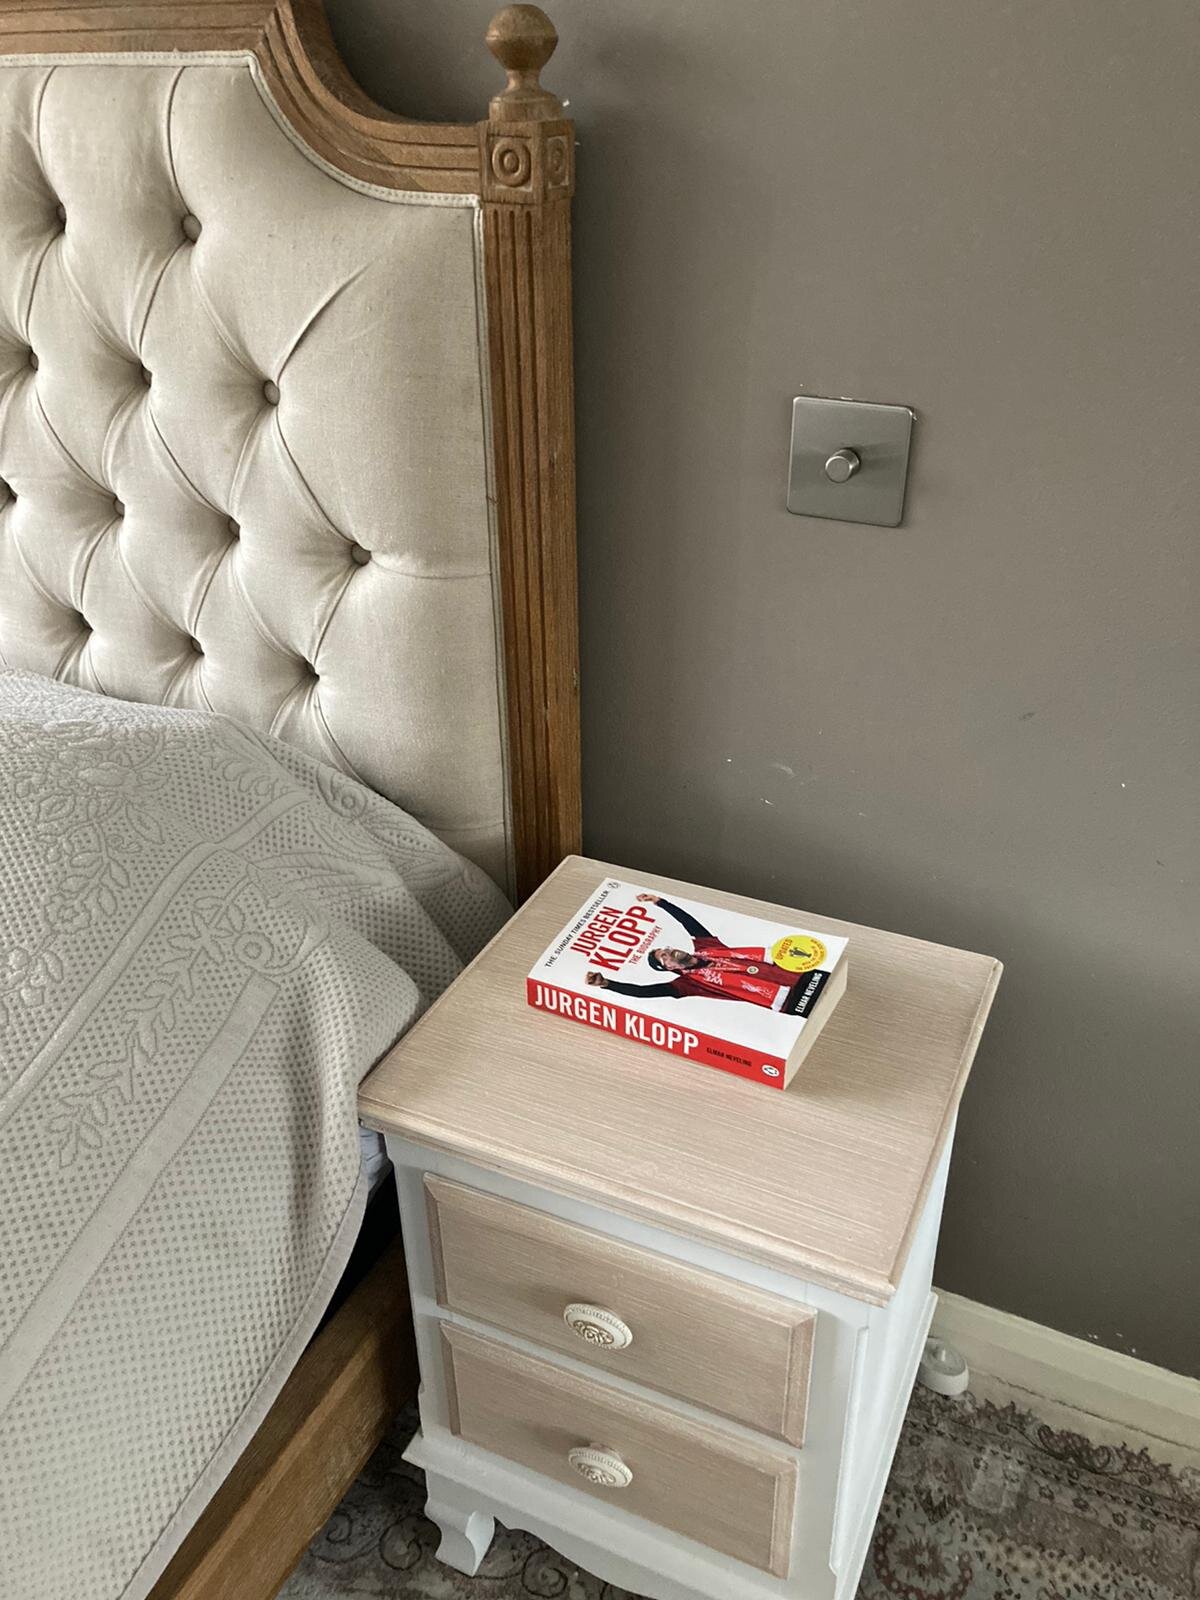
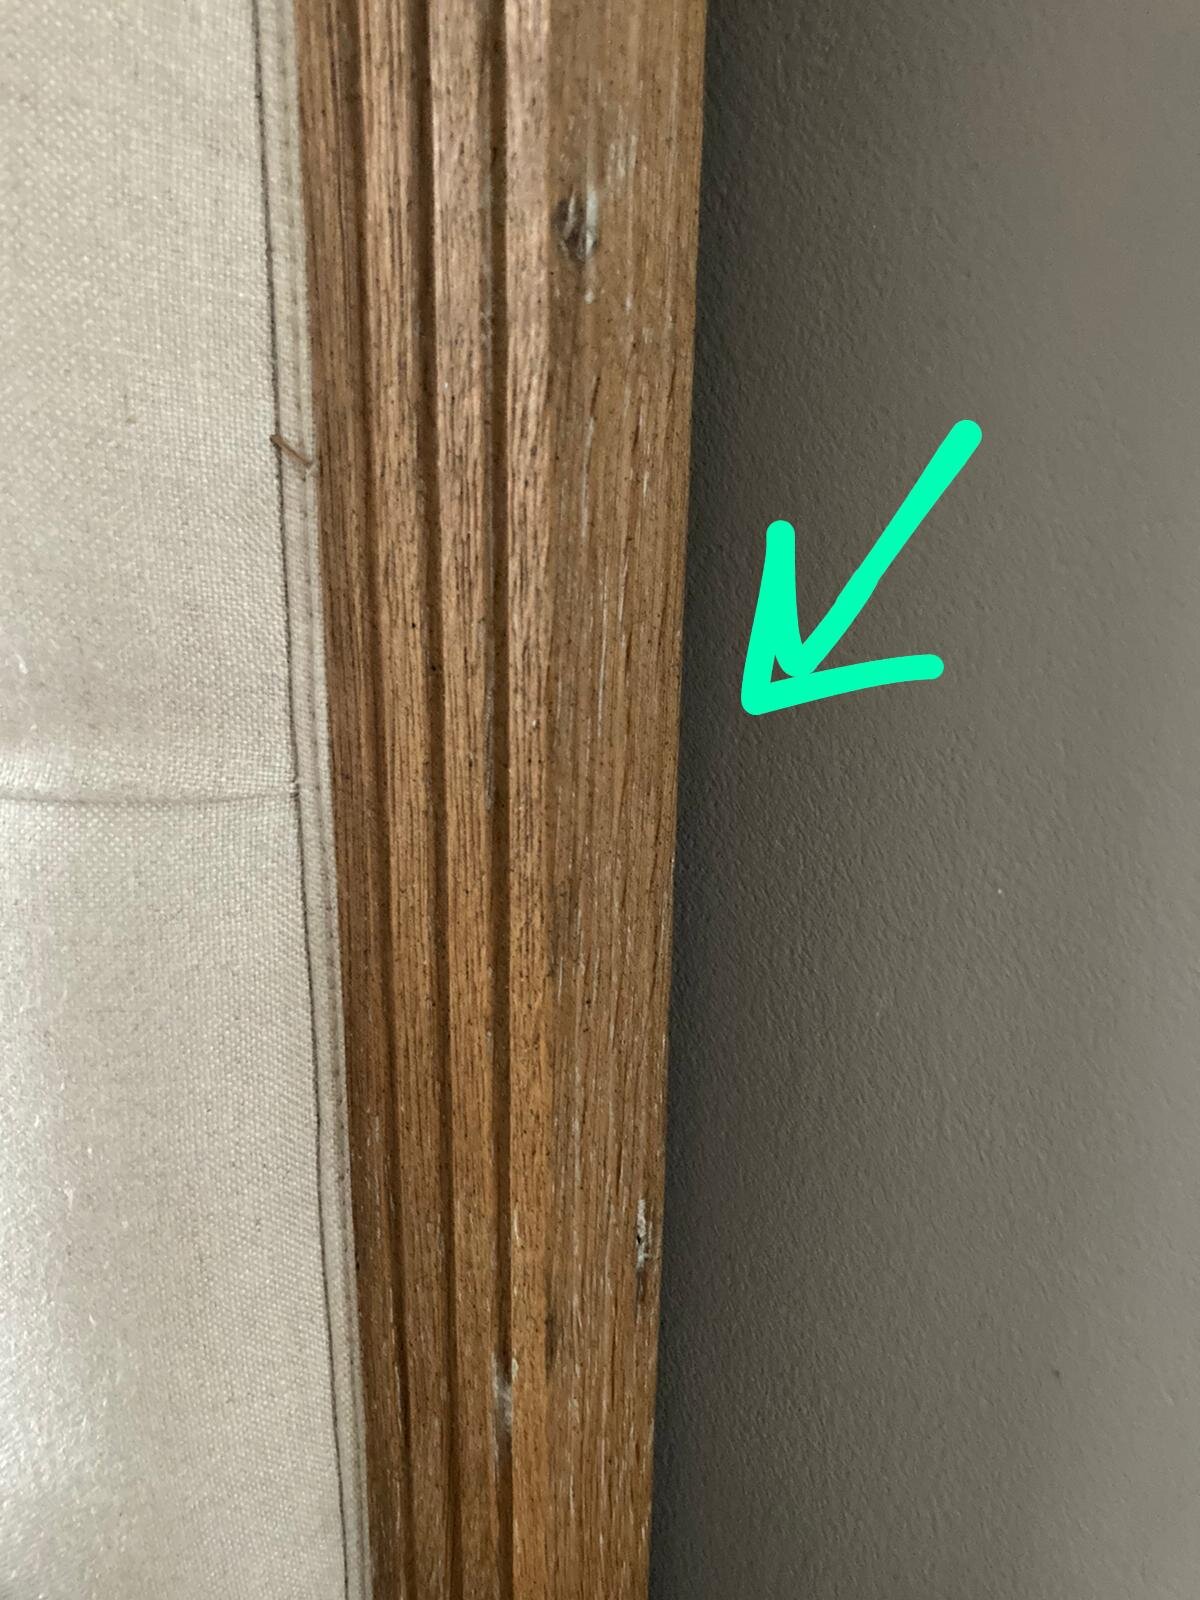
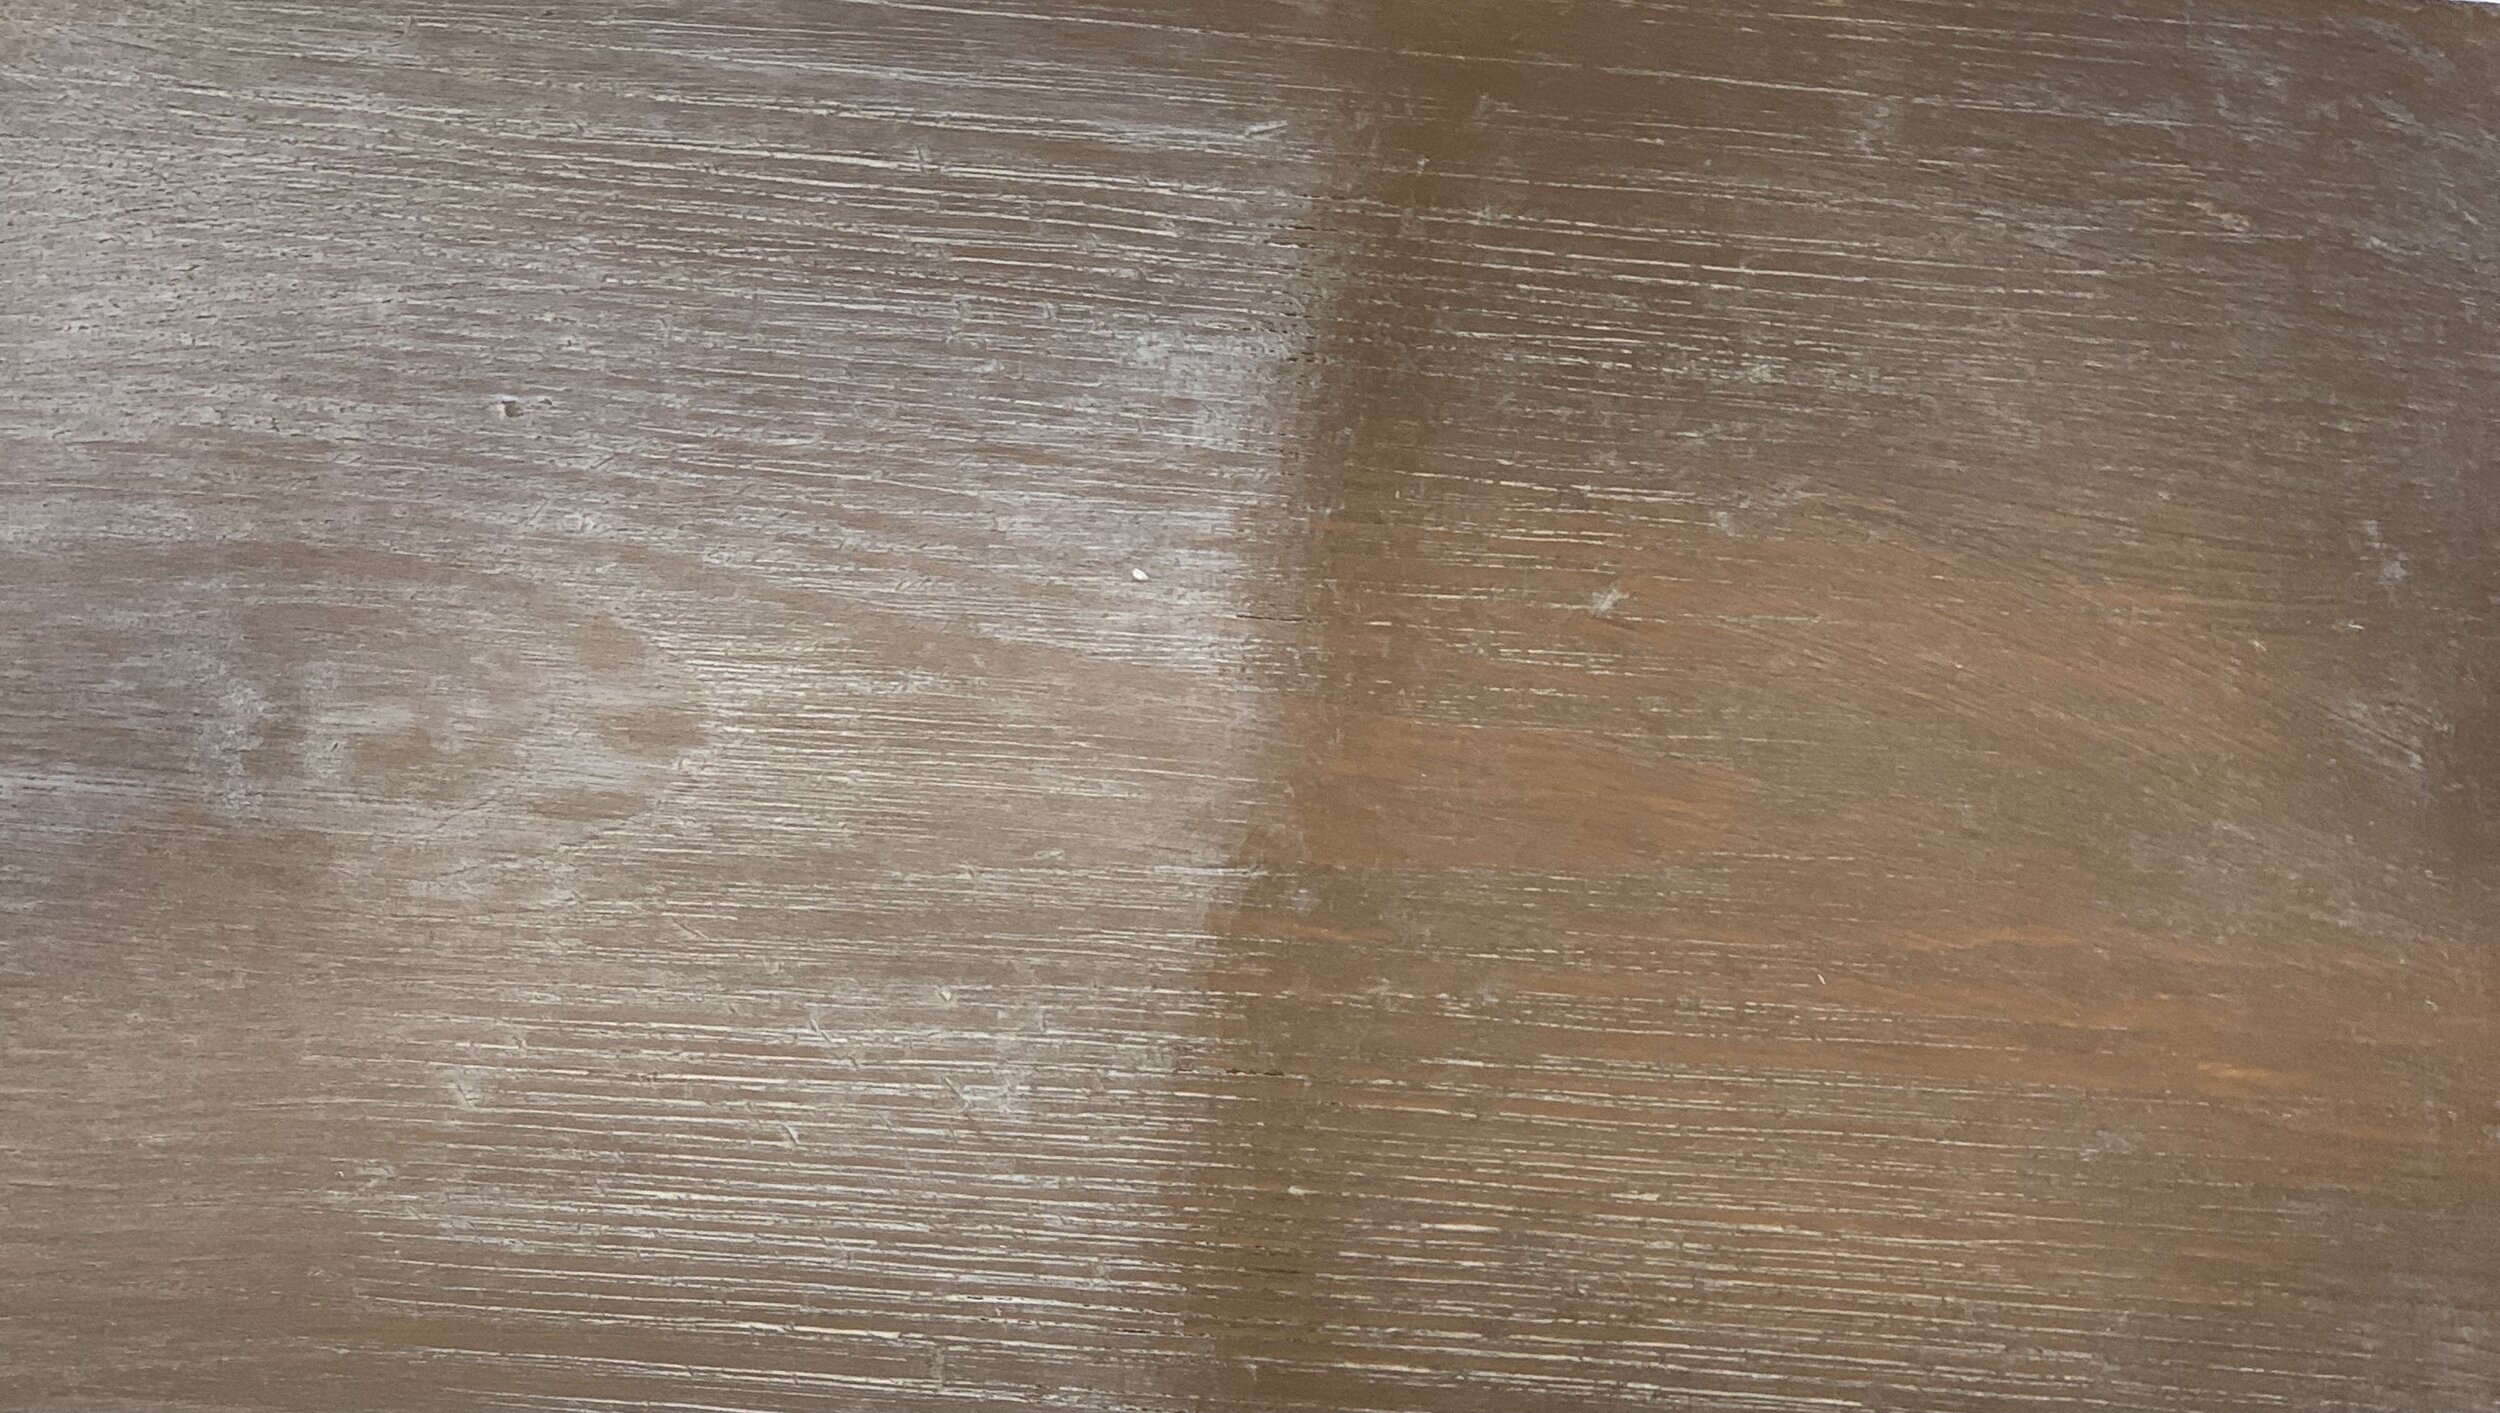
The images above show the bedside table we need to match to the wood finish on the bedhead. So lets get painting. We need to tweak the colour of the wood on the bedside table and then imitate that light dusting of white that is showing on the top of the bedside table.
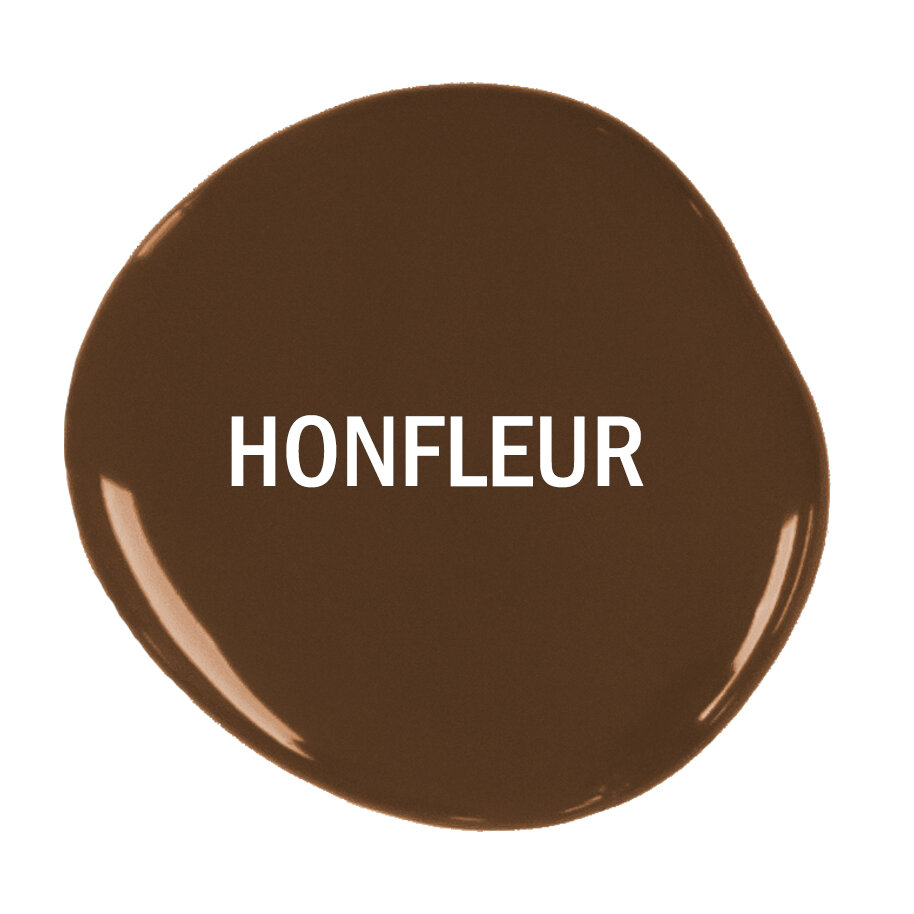

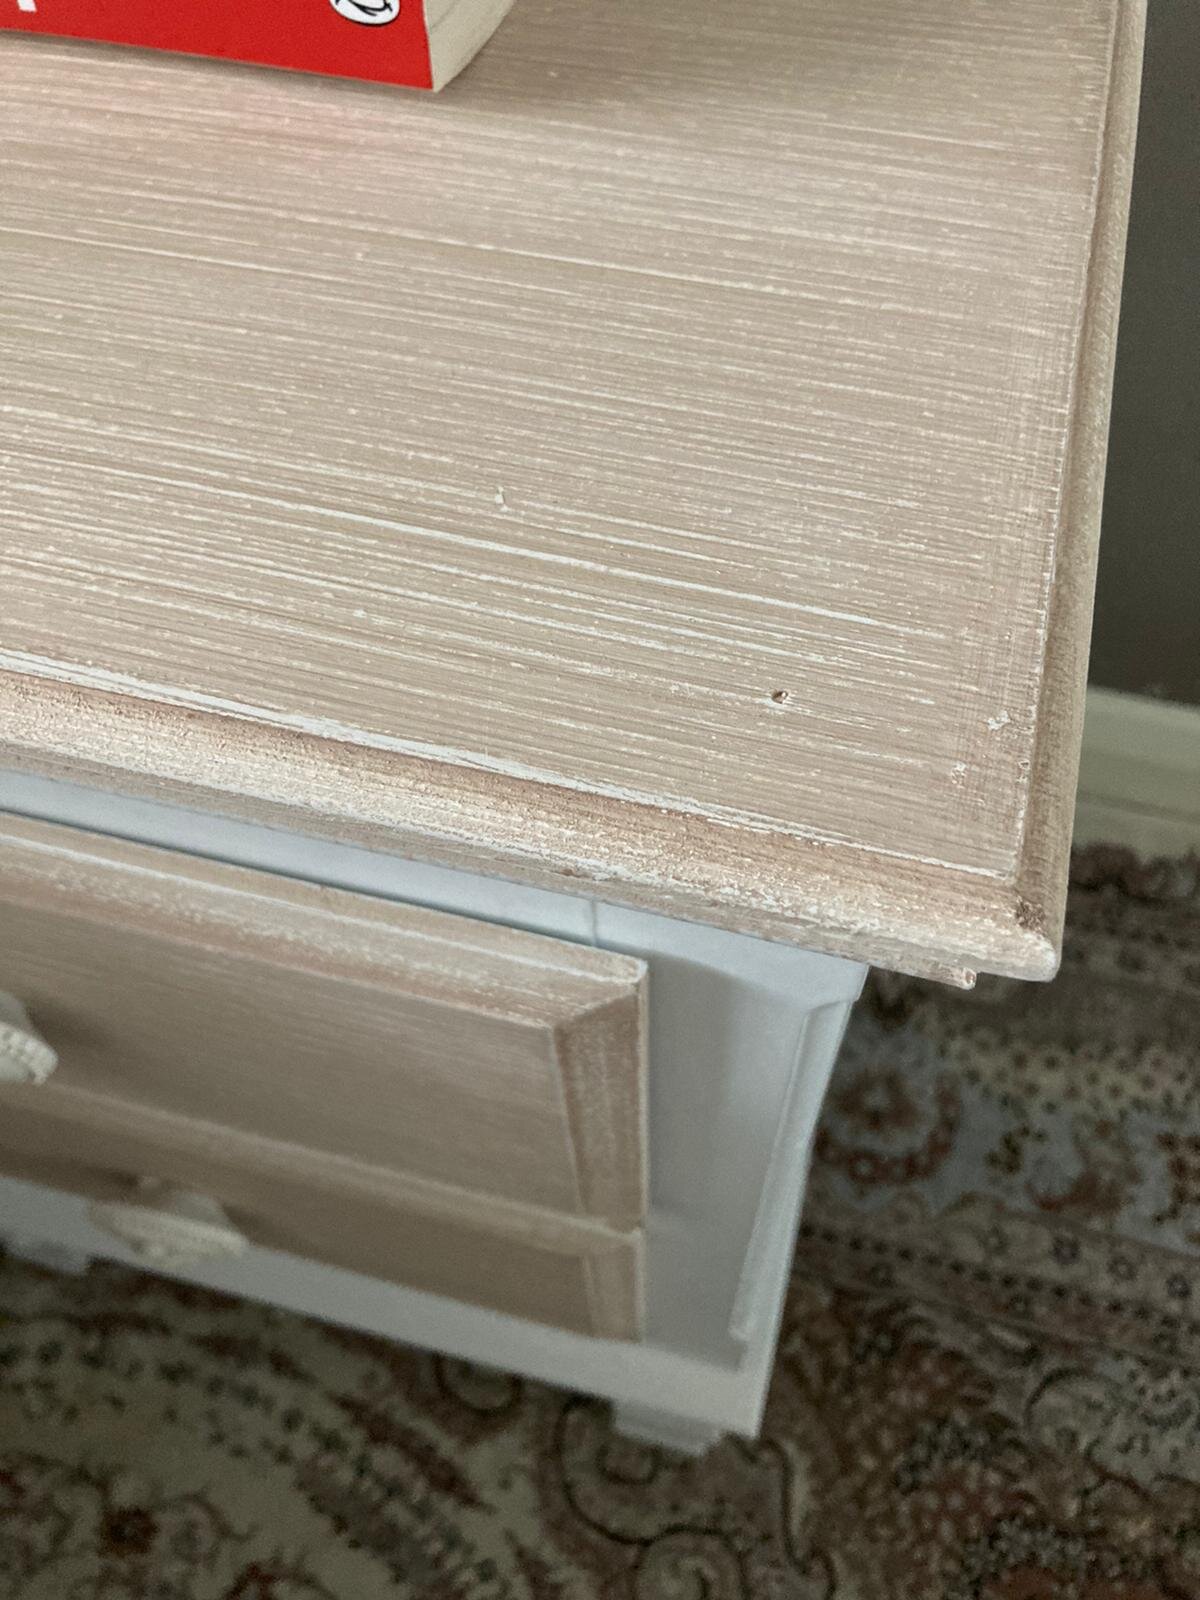
This should do it! By adding a little Barcelona Orange bit by bit to Honfleur you can create a close enough match to the wood colour on the bedhead. Apply a couple of coats of your mixed paint to the bedside table using your Annie Sloan Flat Brush to lay the paint smoothly over the surface. You will want to let that wood grain texture show through as we will need that roughness when it comes to the waxing.
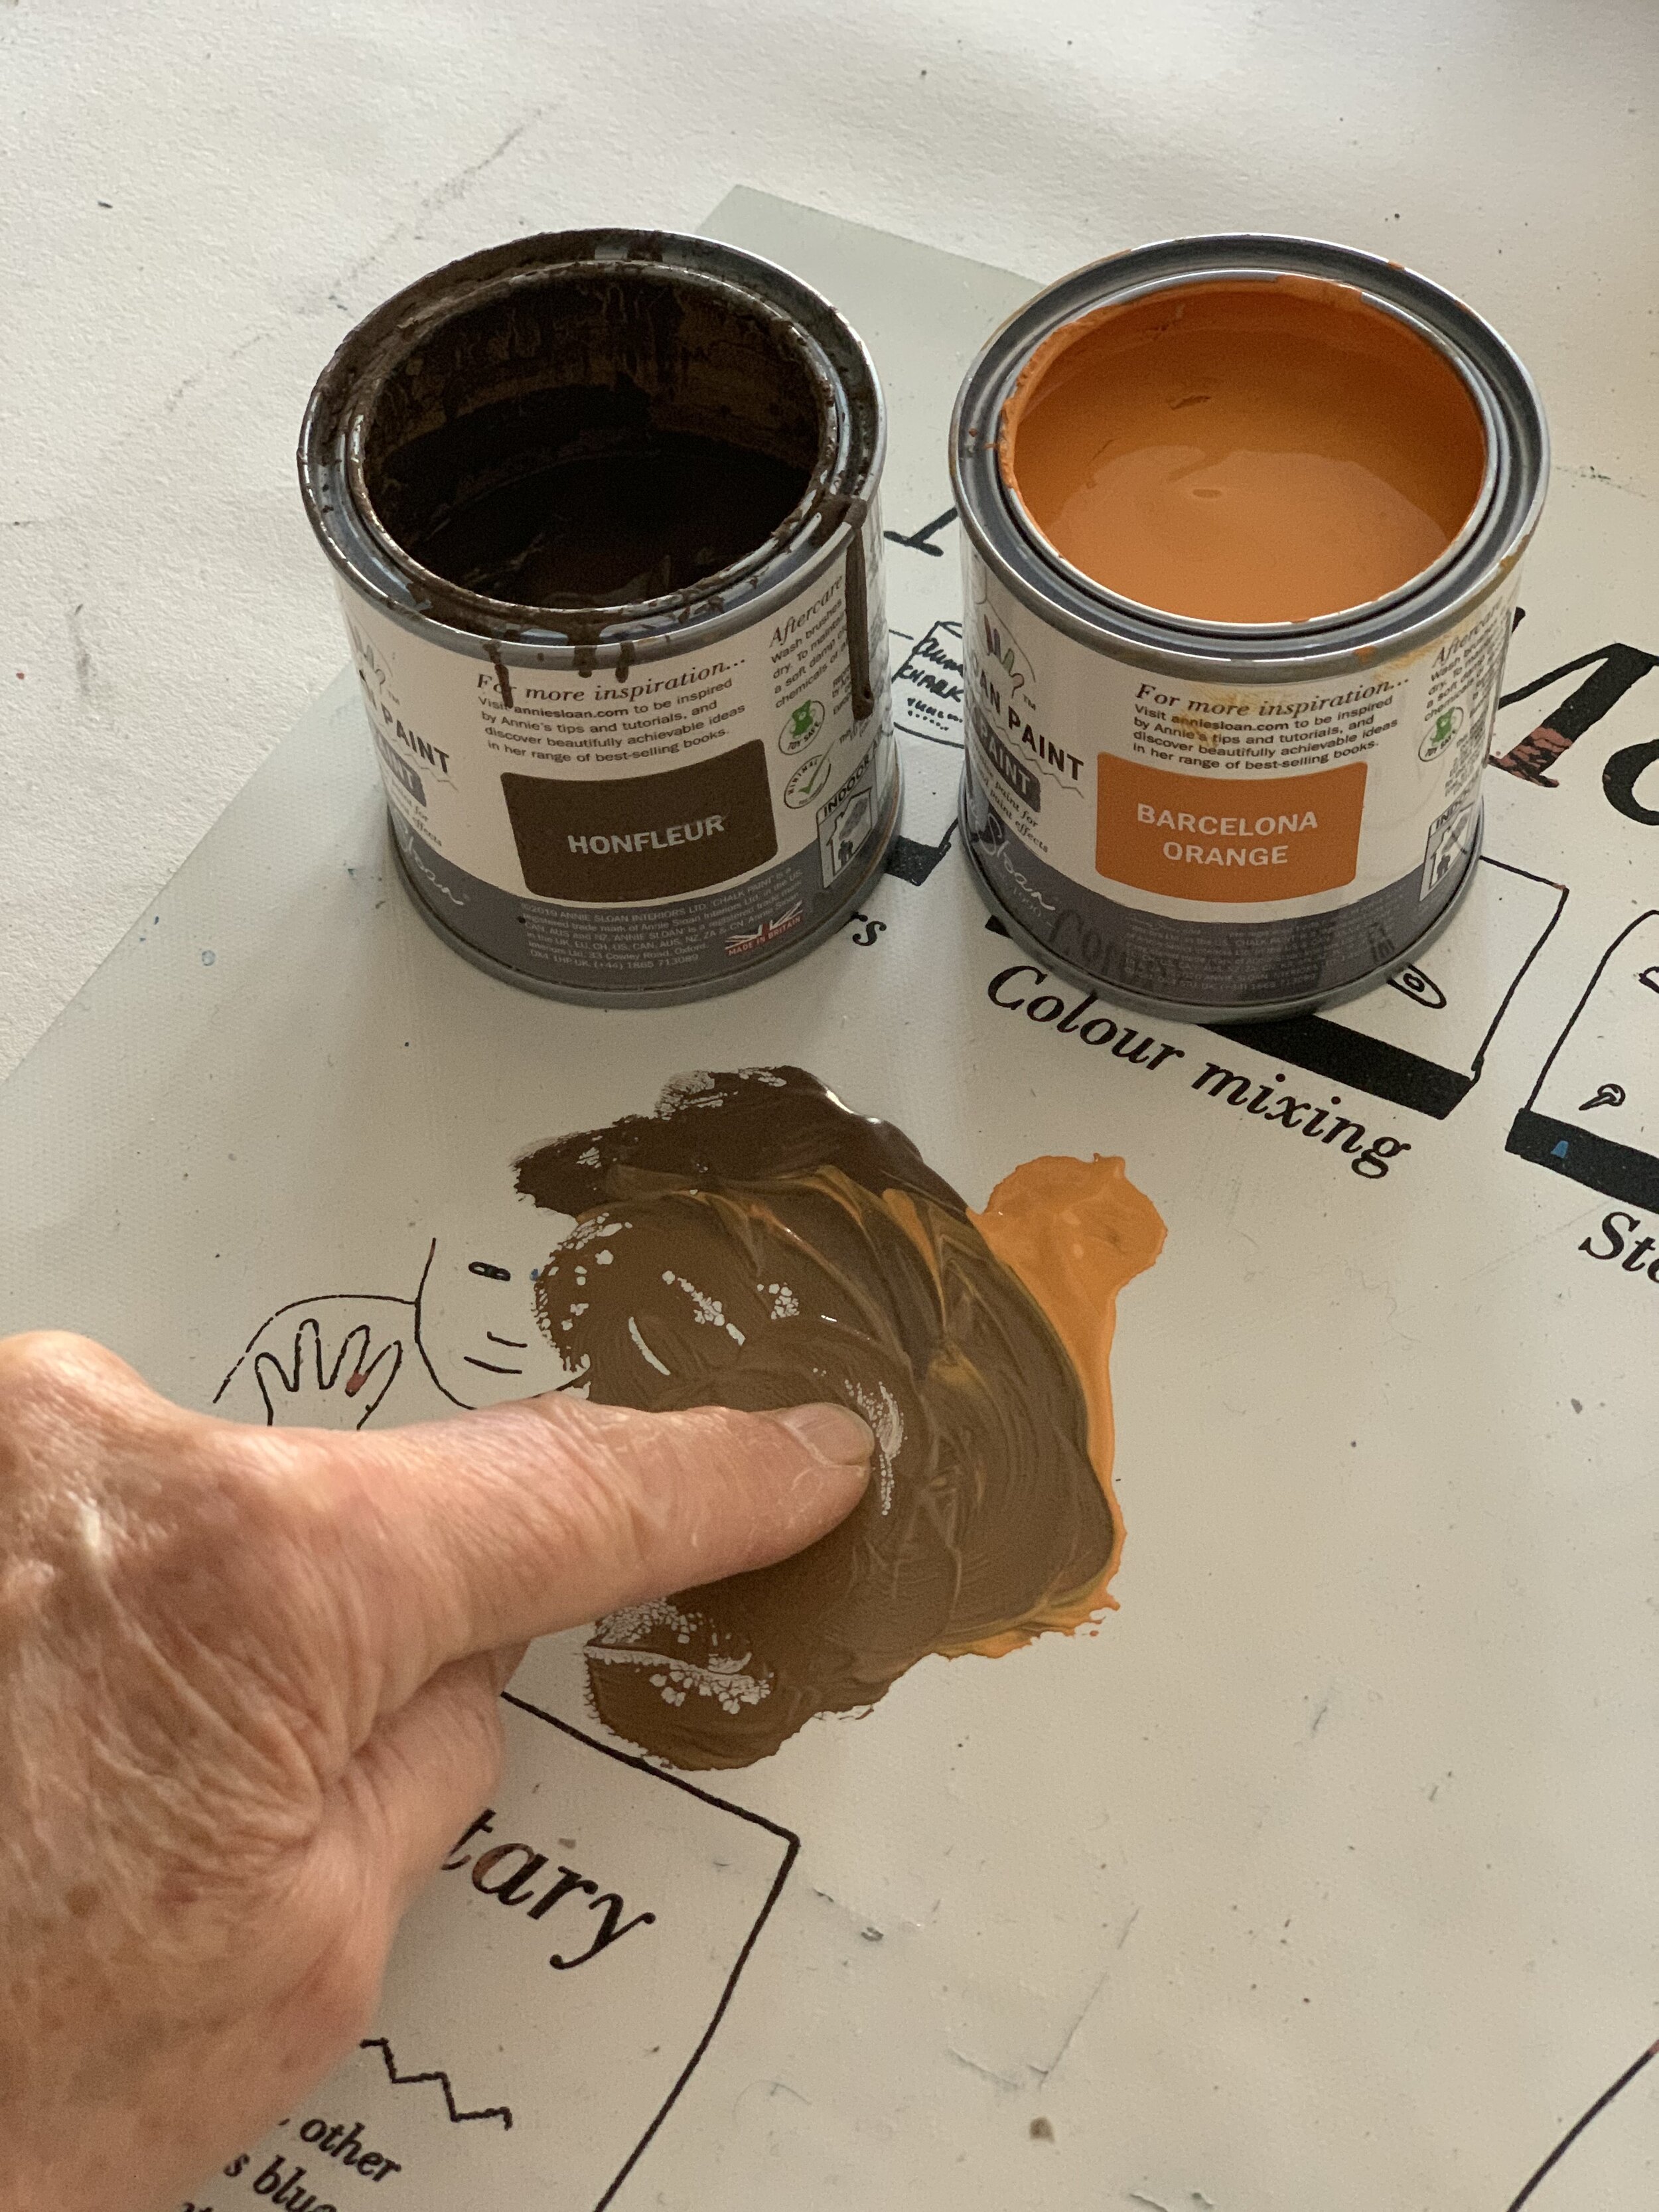
Establish your paint mix colour by combining small amounts together on your MixMat™ Now you know the ratio of one colour to the other and are ready to mix enough paint to do your job.
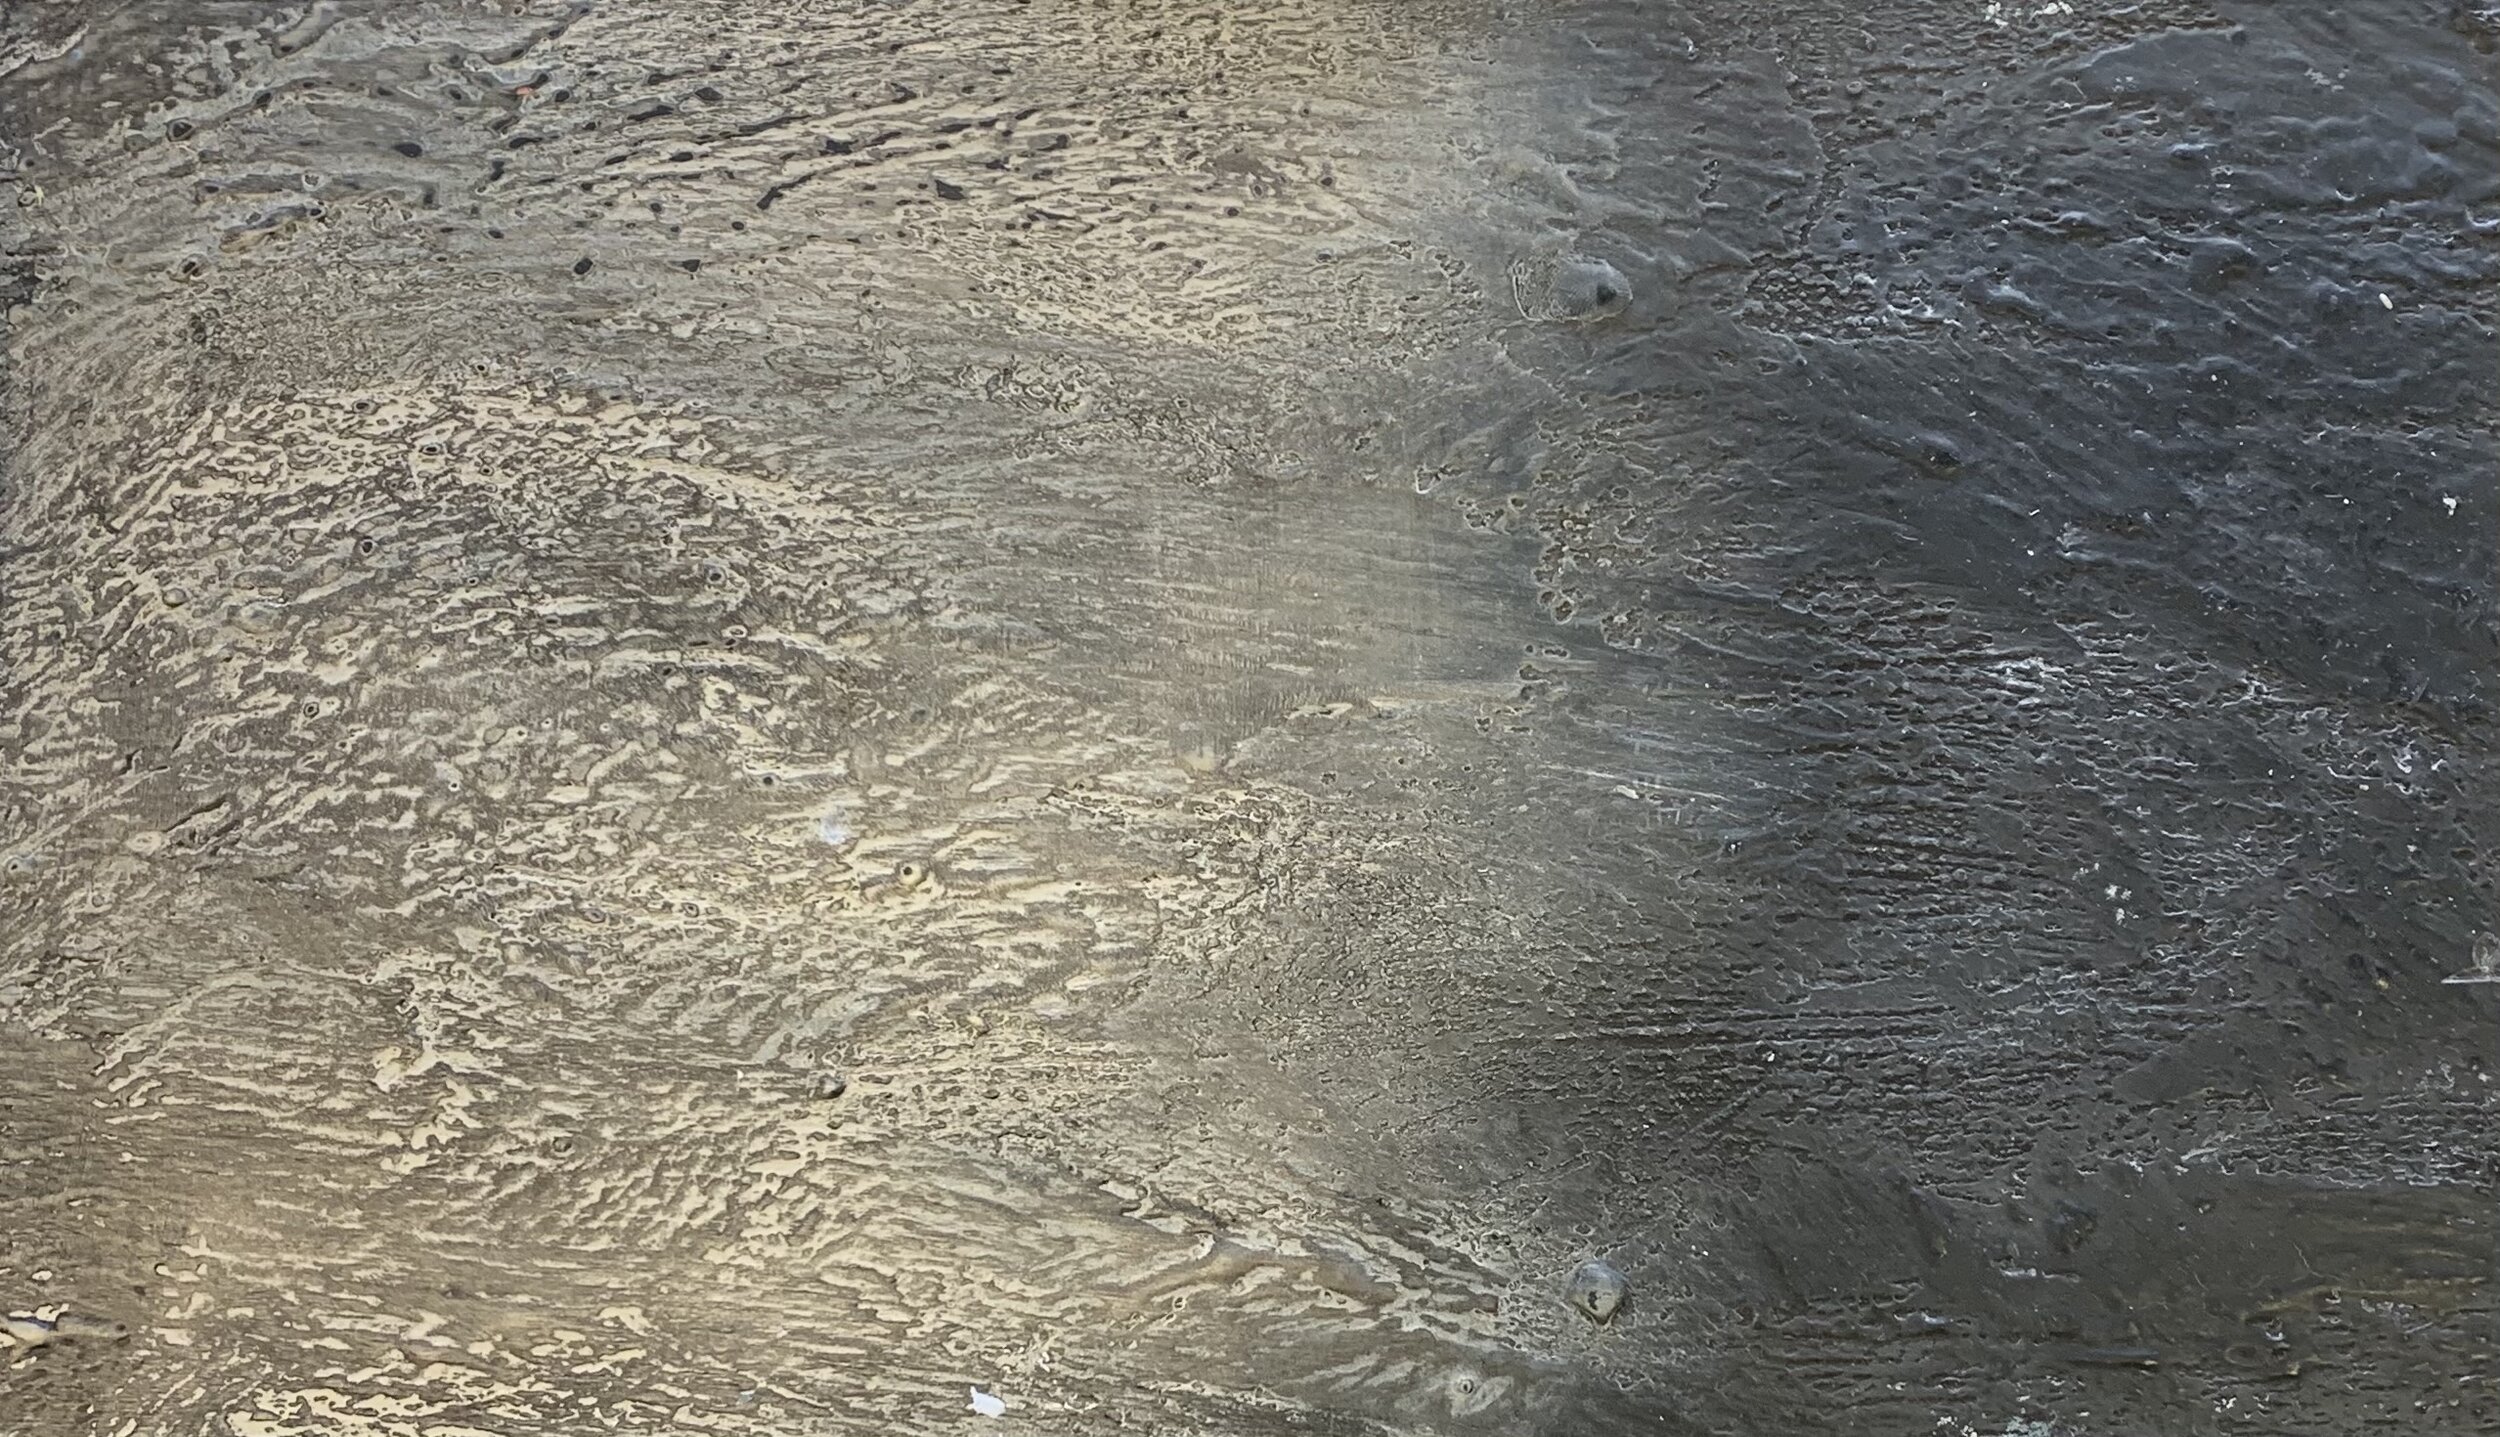
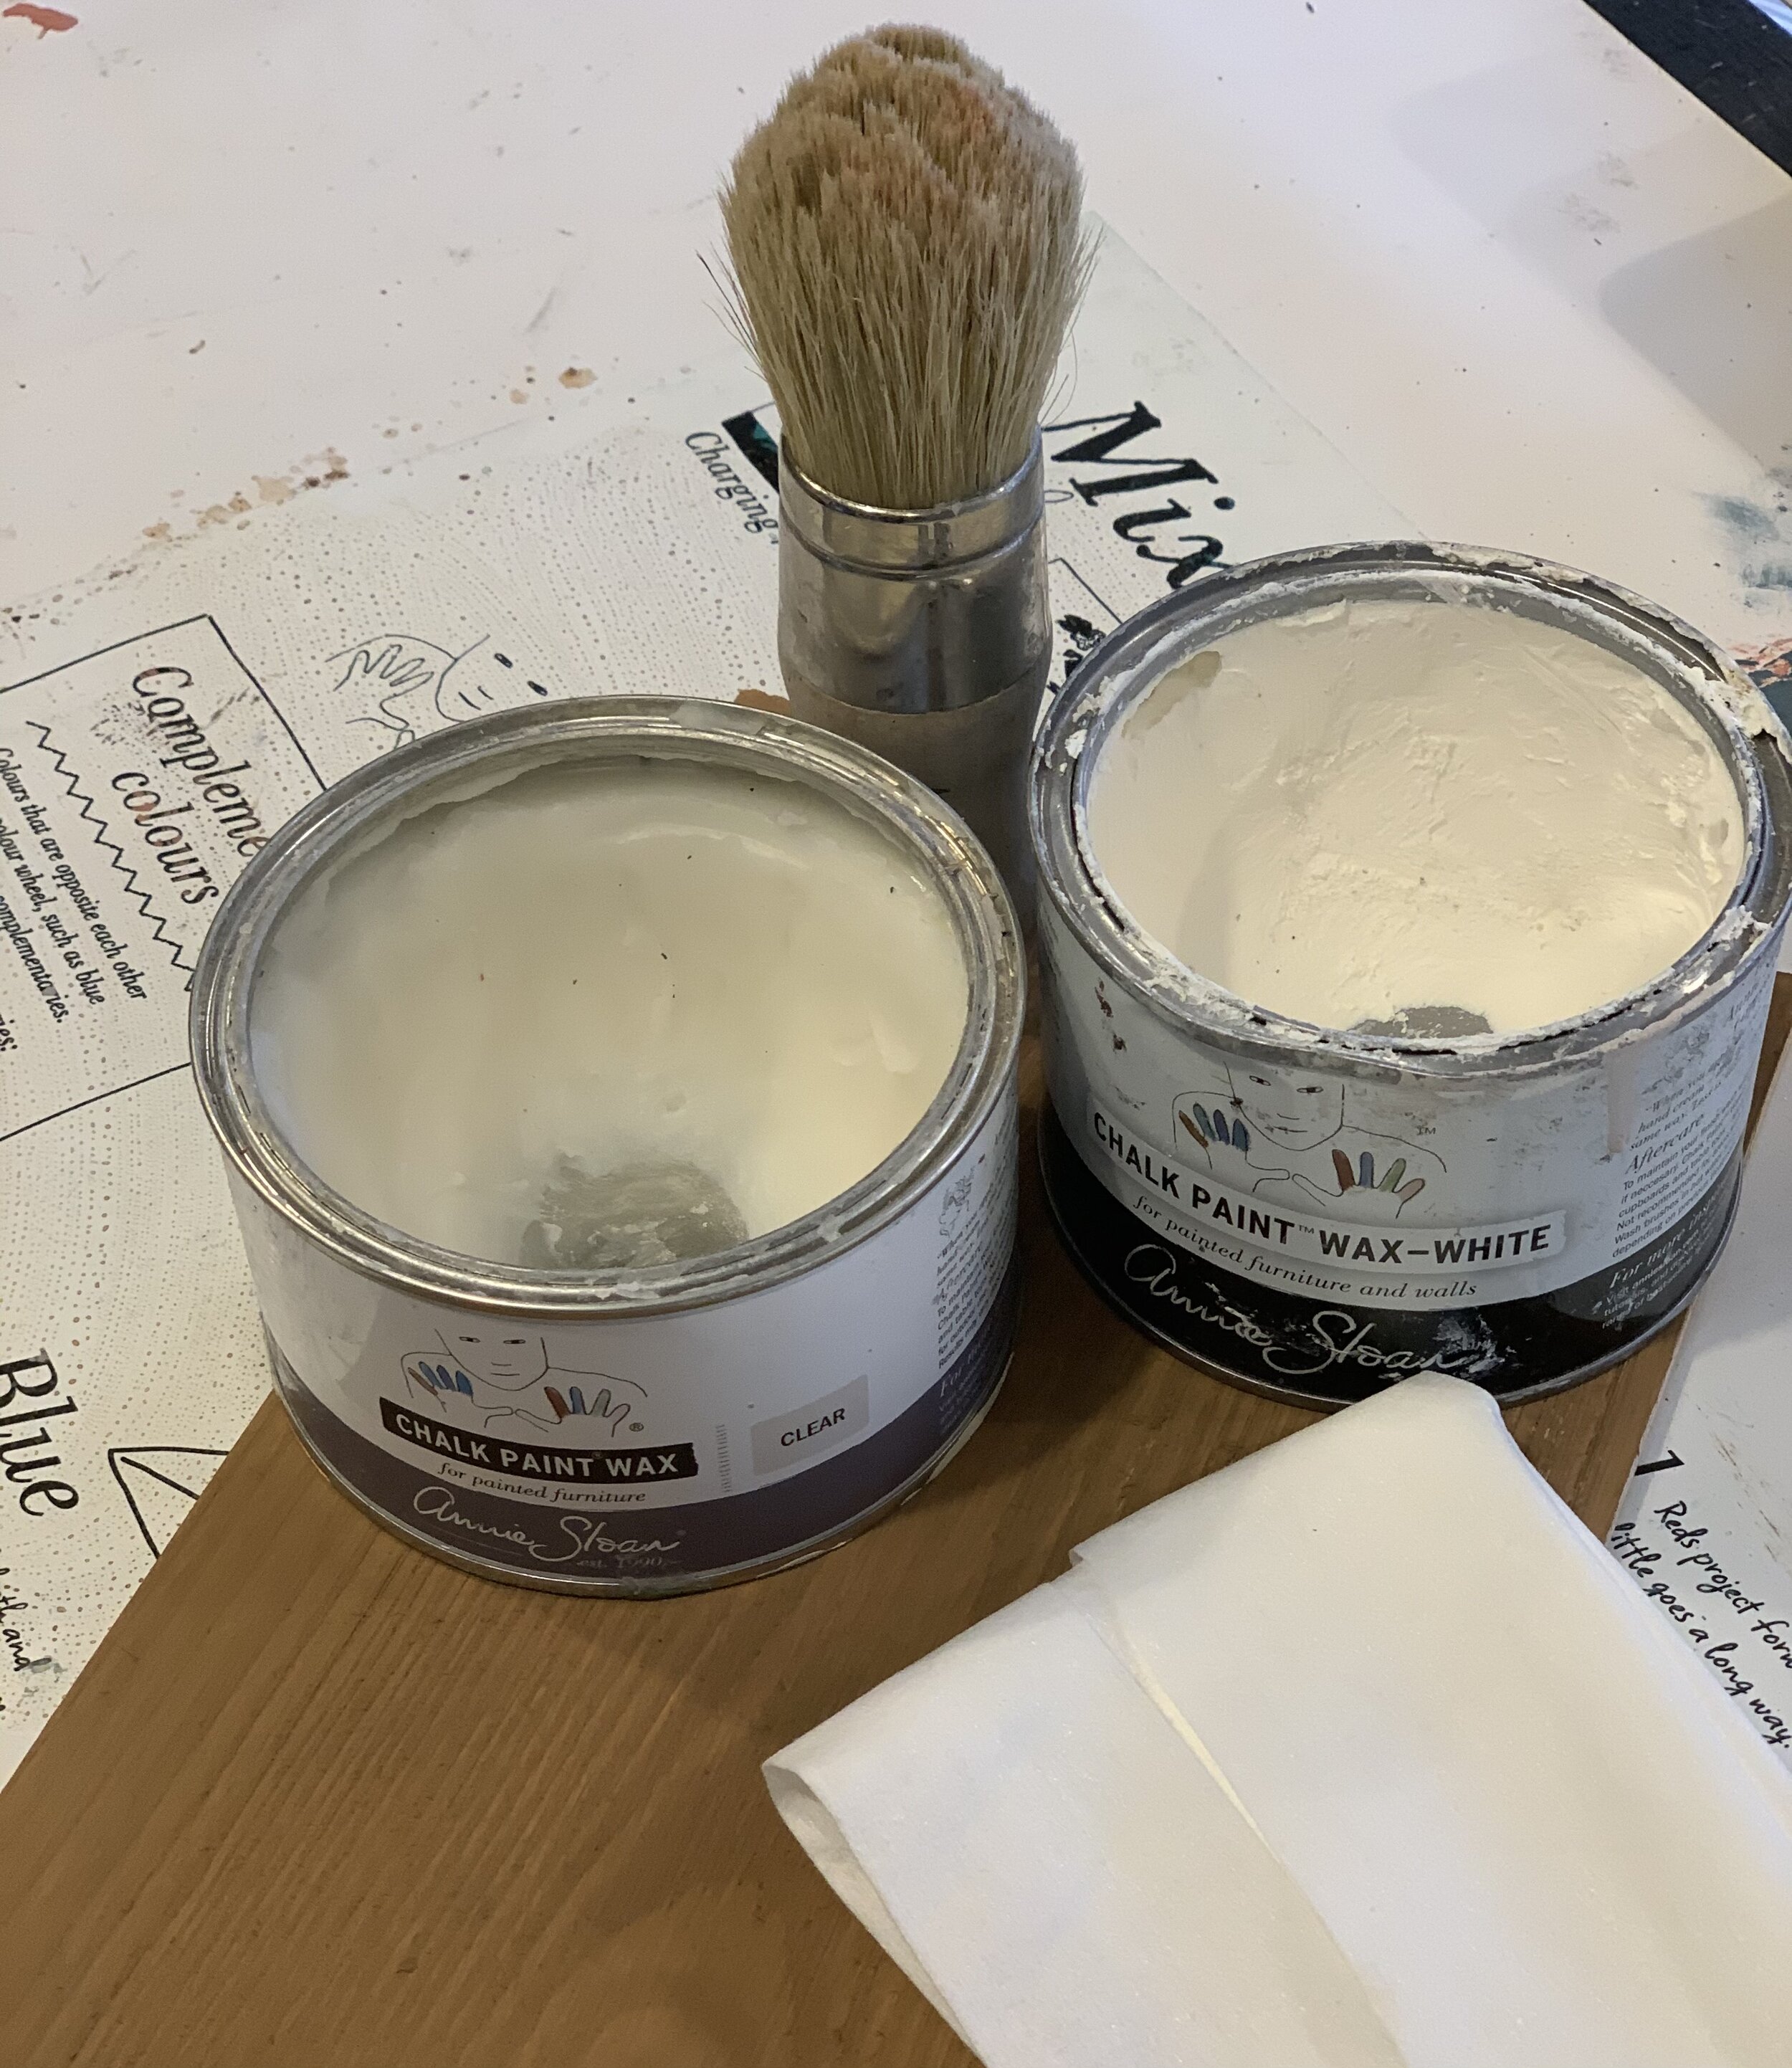
The image above left shows the effect of applying White Wax on Chalk Paint™ The whiter side is achieved by applying the White Wax directly onto the paint. Apply it liberally and allow to dry slightly before wiping off with a lint free cloth. As the paint absorbs the wax immediately the effect is much more profound. The right hand side shows the effect of White Wax over a coat of Clear Wax. You can see that this is more subtle. Remember, you can use Clear Wax as an eraser to remove unwanted White Wax.
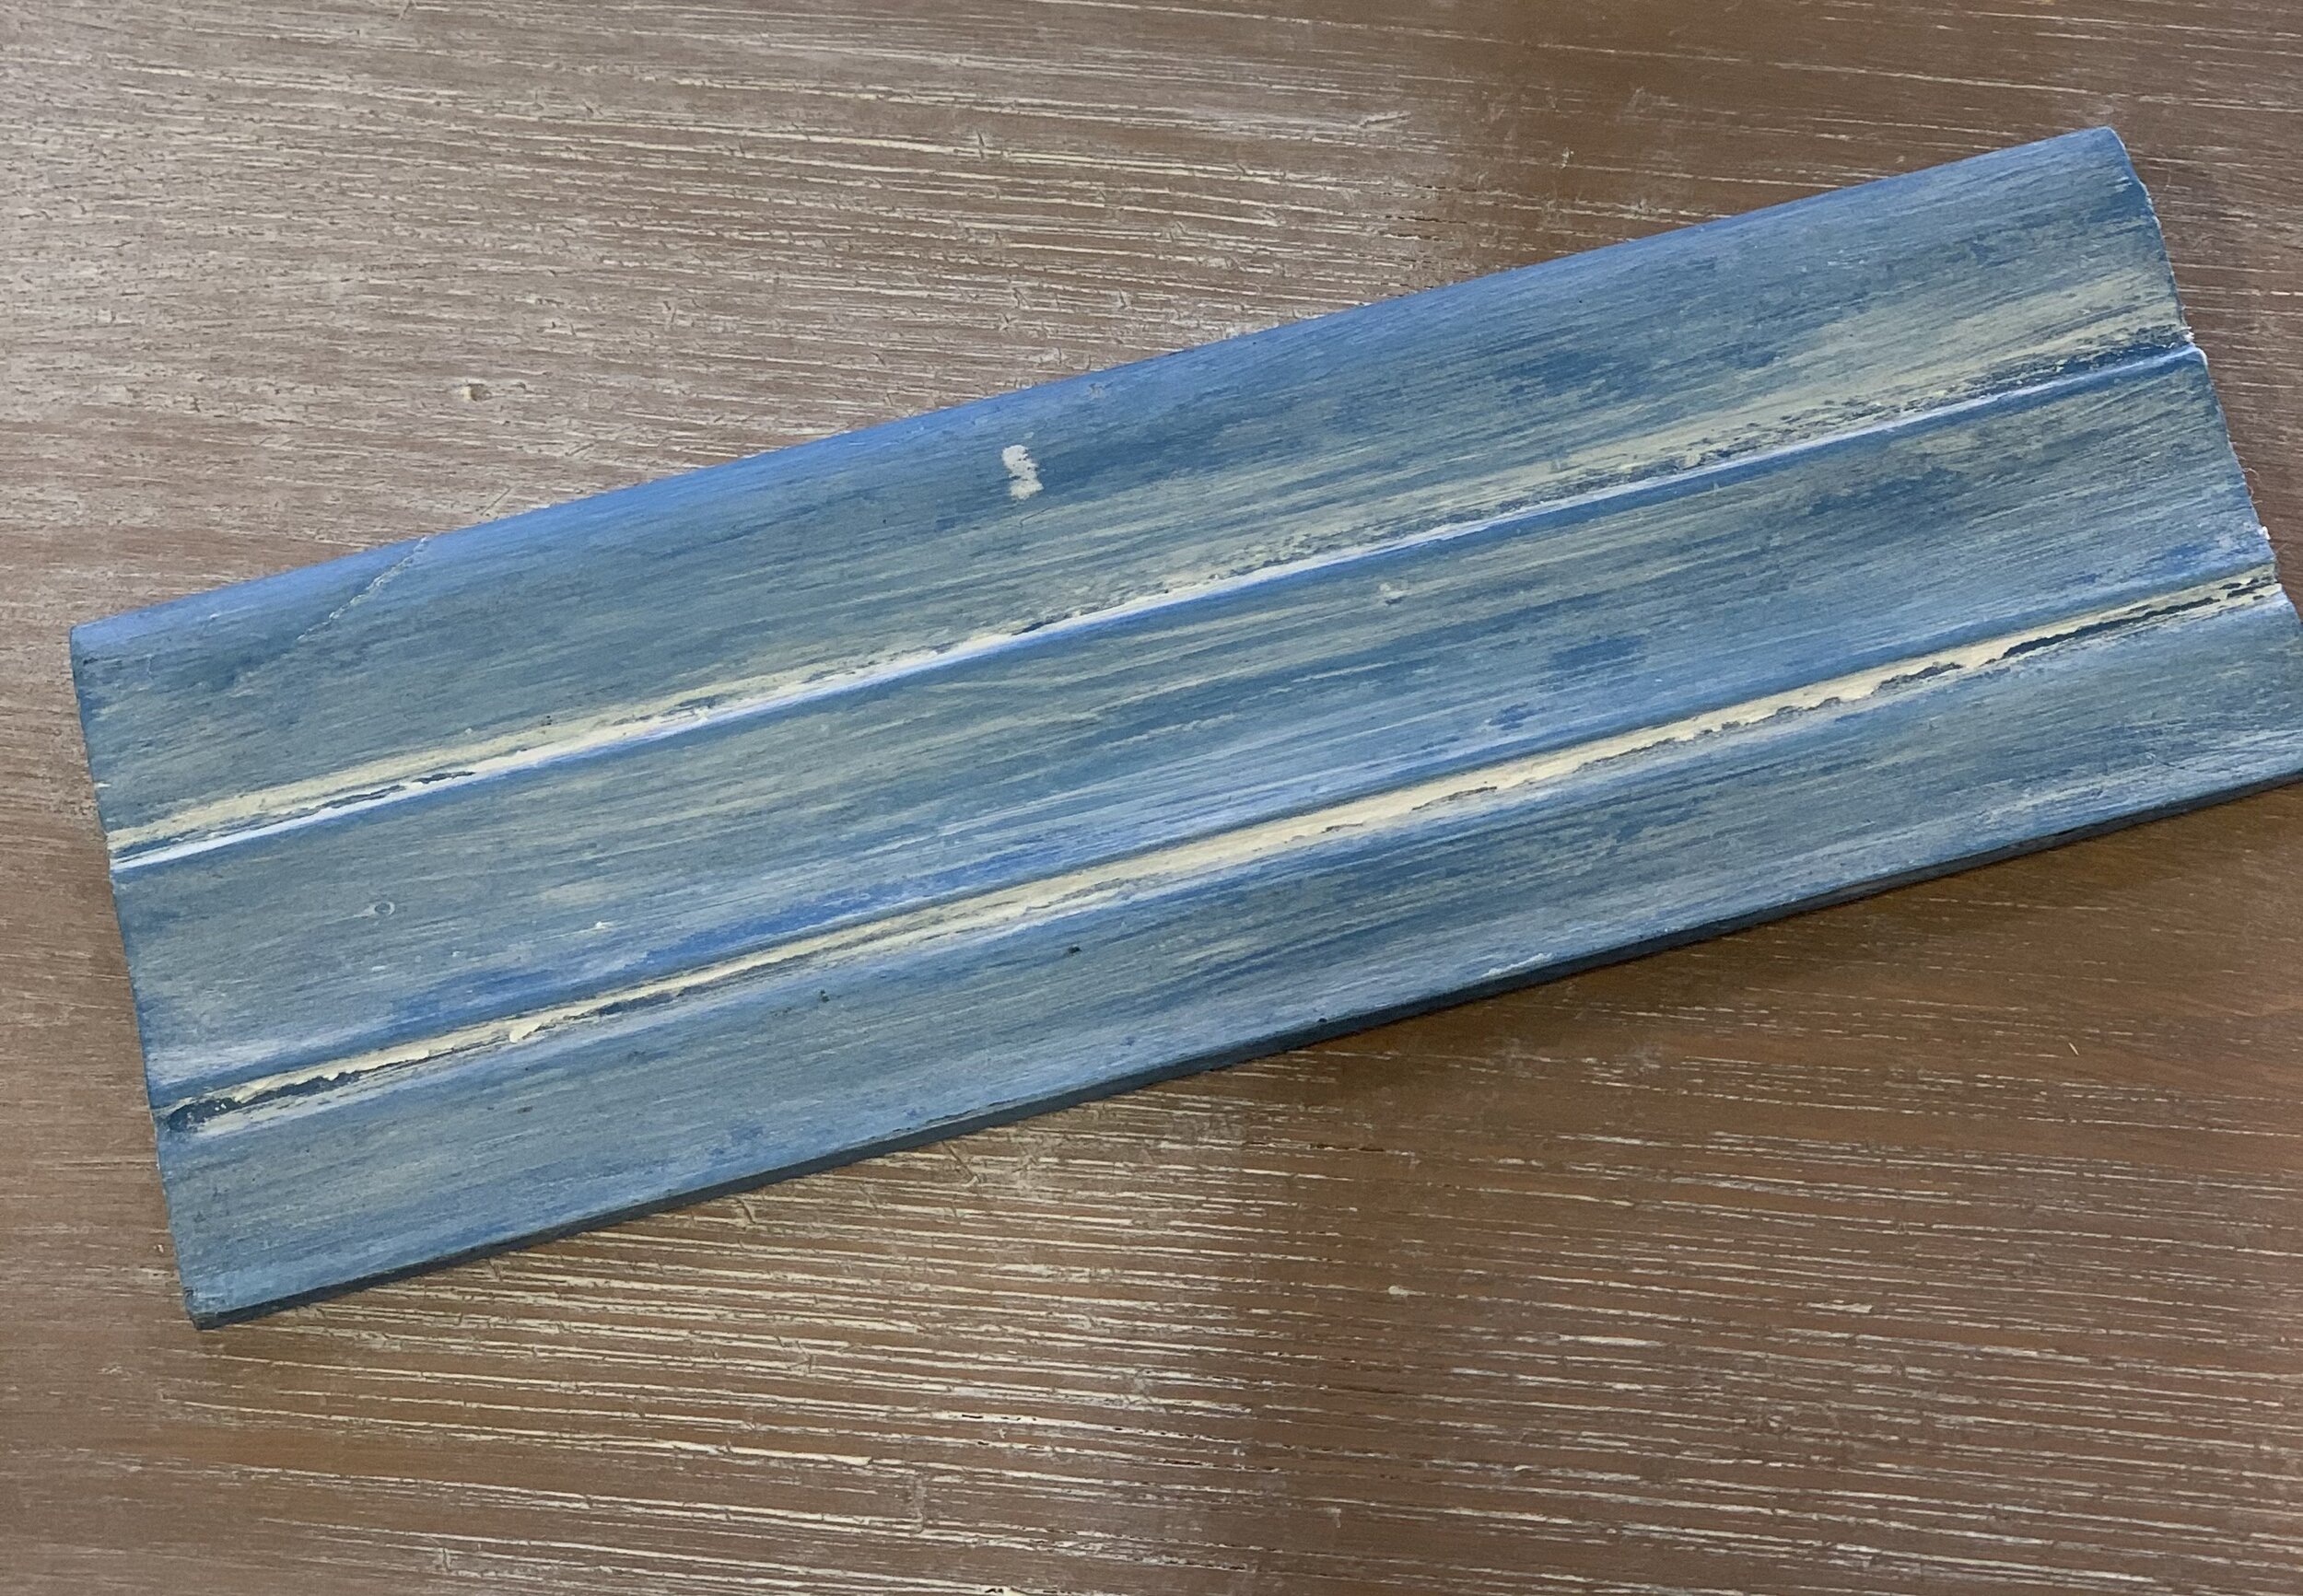
The image in the middle shoes White Wax applied directly over Greek Blue Chalk Paint™ . We applied it liberally, let it dry a little and wiped off leaving a good amount to show off the ridges in the wood sample.
The image on the right hand side shows the wonderful effect you could achieve by layering the Chalk Paint™ (in this case Graphite) and using the White Wax to highlight the textured contours of the impasto paint layer.
Once the White Wax has completely dried you can add Clear Wax for added protection but be aware that this will slightly lift the White Wax off.
I do hope you find this step by step project useful - there are more to come so do follow us to see new ideas using Chalk Paint™ for your projects.
xx Jane